
Postman is perhaps the most popular tool for quickly bootstrapping RESTful interactions. Since Solace PubSub+ Software Event Broker natively supports several protocols including HTTP, it makes sense to explore some of what PubSub+ Event Broker offers using Postman.
In this tutorial, we’ll use a rudimentary request and reply scenario to produce HTTP to the broker and consume the request as JMS on the backend. Notice that we don’t need to write any API transformation. PubSub+ Event Broker seamlessly translates between HTTP and JMS for us.
Specifically:
- Postman sends an HTTP request to PubSub+ Event Broker: Cloud
- A Springbootbackend application consumes the request using JMS.
- The backend application replies to Postman with a “Hello World” type string.

Figure 1: Simple Application for Postman
For brevity we avoid the use of TLS on either end. Also, the reply is sent on a dynamically generated reply topic, which I haven’t shown.
Downloads
Simple Springboot JMS Consumer
Set up an Instance of PubSub+ Event Broker: Cloud Free Plan
This is probably the easiest step in the entire tutorial! We setup a cloud instance of the broker to allow for communication between Postman and our backend consumer, as depicted in Figure 1.
If you already have an account, you can skip this step.
- Go to https://cloud.solace.com
- Click Get started.
- Fill up the form and click Sign Up to create a free account.
- Log in using the link you receive in the activation email.
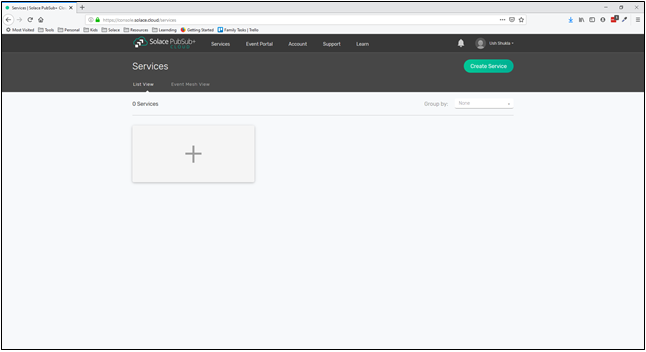
You’ll see the Services page and a single + tile.

- Click the + tile to get to the Create Service

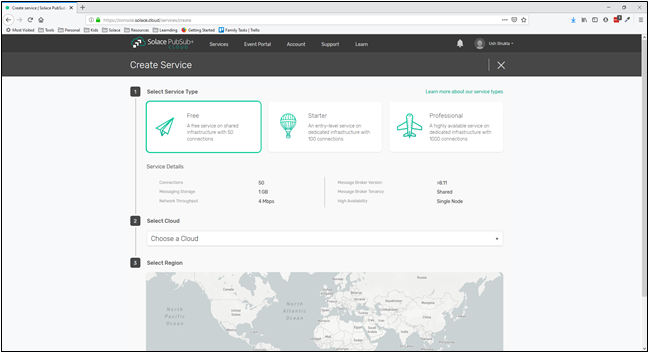
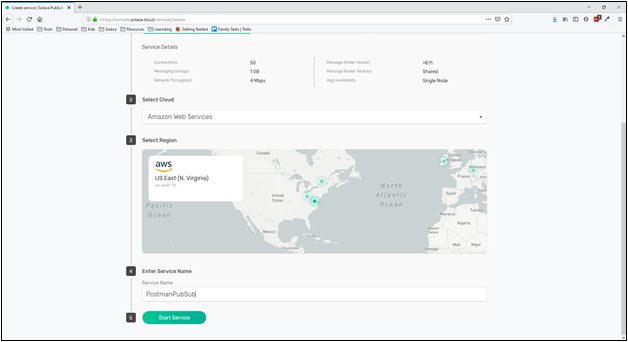
- Follow the steps outlined in the image below to create a free event broker service on an available AWS region.
Note: Currently, the Free tier is offered only on AWS.

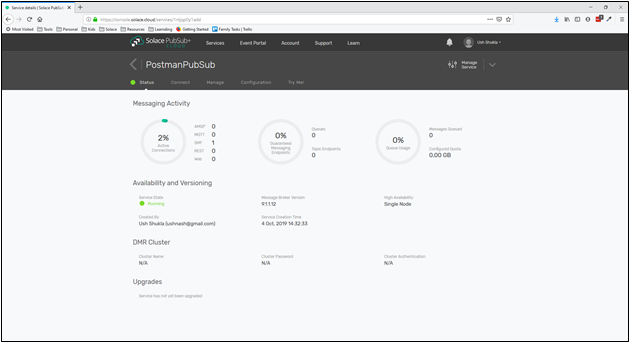
Your service is up and running in a few seconds.

Set up Postman
Before we wire up any applications, let’s set up Postman to interact with the broker.
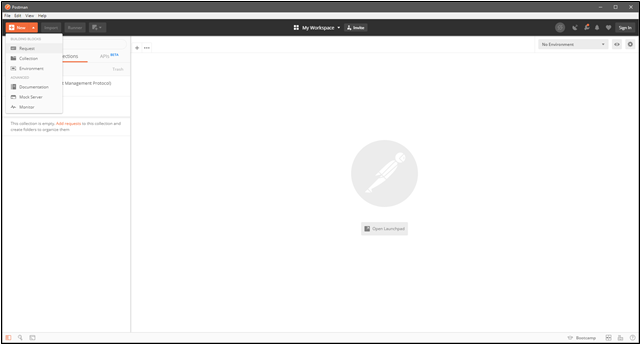
- Fire up Postman and click New > Request.

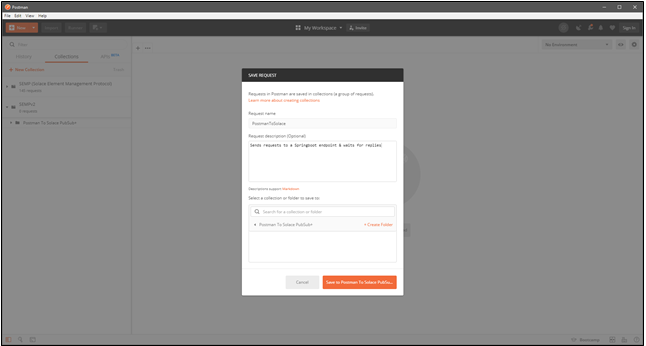
- Save the request in an existing Collection or create one for this tutorial.
Personally, I created a new one named Postman to Solace PubSub+.

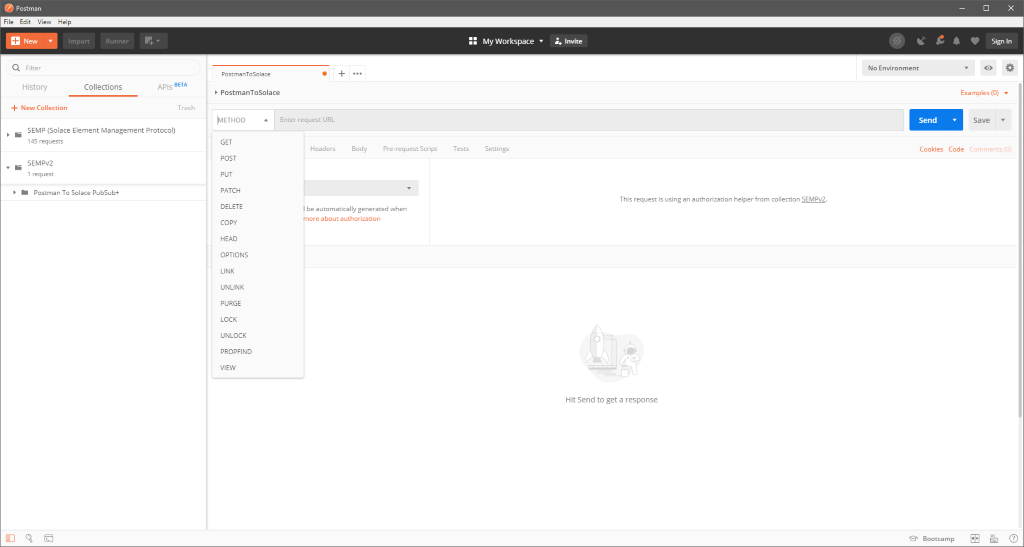
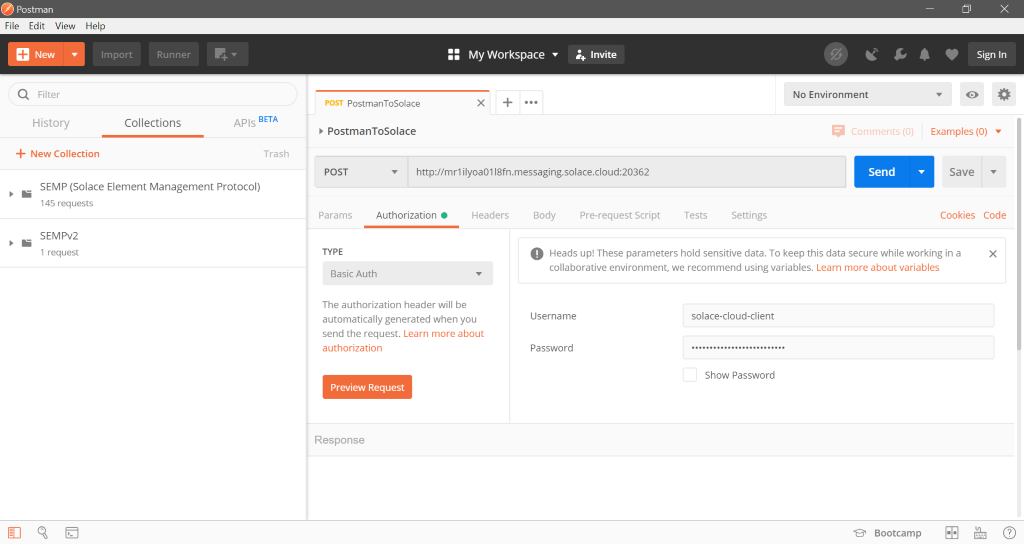
- Change the METHOD to POST for the blank request as PubSub+ Event Broker only handles HTTP POST requests by default.
You can enable other HTTP verbs using Microgateways.

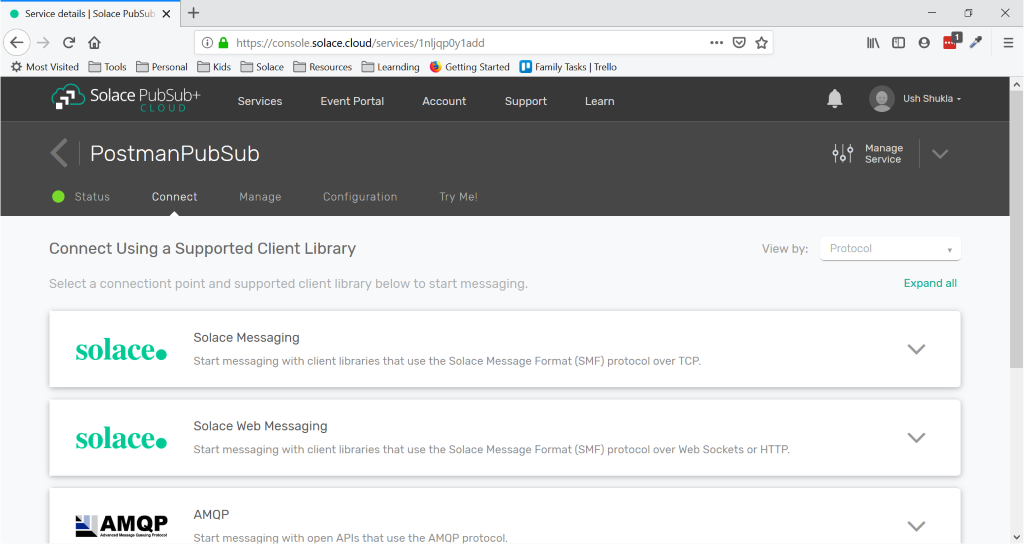
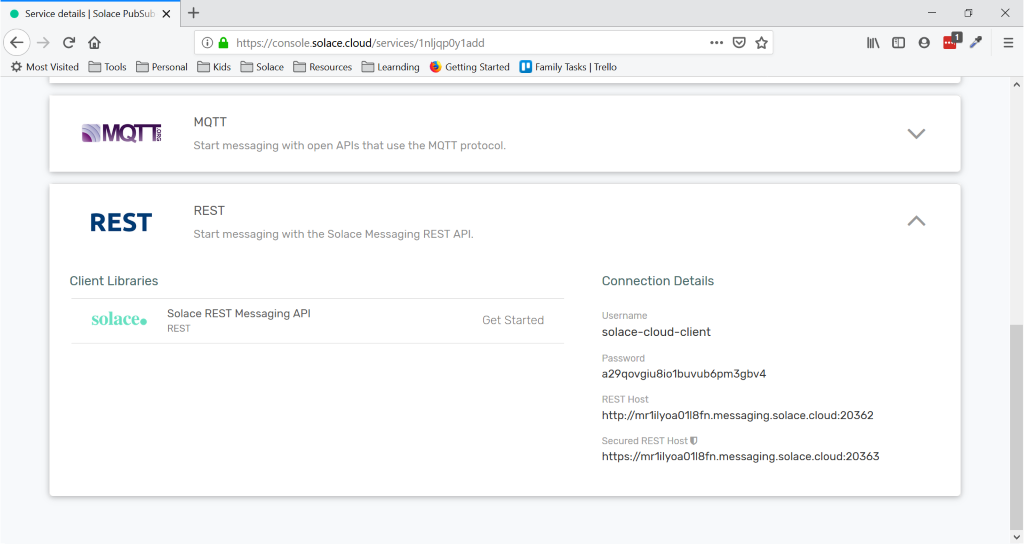
- To communicate with PubSub+ Event Broker, head over to the instance of PubSub+ Event Broker: Cloud that you created earlier and click the Connect tab.

- Select View by: > Protocol in the top right hand and scroll down to the REST Expand the section to view the Connection Details for your service. In our case, we are interested in Username, Password, and REST Host.

- Back in Postman, enter the POST Host, Username, and Password details from the above step, paste them into the related fields, and click Save.

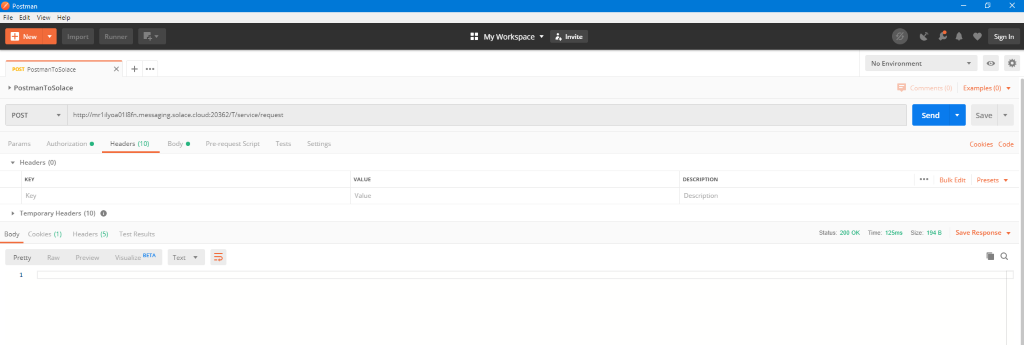
- Append
/T/service/requestto the Host URL in Postman. This routes the request to theT/service/requesttopic on the broker.
Note 1: PubSub+ creates the topic dynamically on the server side.
Note 2: The request body is left empty intentionally. - Save the request and click Send.
You should get an empty response with an HTTP 200 status. Postman and our instance of PubSub+ Event Broker: Cloud are now talking!

Our Springboot Consumer
Our Springboot JMS consumer replies to any requests received on T/service/request. Spring handles the JMS configuration boilerplate, leaving us free to focus on the relevant application logic.
Using JMS with Spring is a deep topic outside the scope of this tutorial. Read this tutorial to learn the details.
Maven Configuration
We import Solace’s Springboot starter to make life easier.
<dependency>
   <groupId>com.solace.spring.boot</groupId>
   <artifactId>solace-jms-spring-boot-starter</artifactId>
   <version>3.2.0</version>
</dependency>
Java Code
This is the primary class that processes messages received on T/service/request and replies appropriately. As you can see, all the code does is reply with “Hello” prepended to the request body.
package com.solace.jmshelloworld;

import org.springframework.jms.annotation.JmsListener;
import org.springframework.stereotype.Component;

@Component
public class Receiver {

    @JmsListener(destination = "${app.jms.topic}", containerFactory = "myFactory")
    public String receiveMessage(String message) {
System.out.printf("Received <%s>\n", message);

return "Hello " + message + "!";
    }
}
Application Properties
We set the various properties used by both our service and the Solace PubSub+ Springboot starter.
You can get the PubSub+ Event Broker properties from Solace Messaging > Solace JMS API under the Connect tab of your Solace PubSub+ Event Broker: Cloud instance. Be sure to select View By: Protocol in the top right hand.
#Solace properties
solace.jms.host = tcp://mr1ilyoa01l8fn.messaging.solace.cloud:20352
solace.jms.msgVpn = msgvpn-1nljqp0y1add
solace.jms.clientUsername= <u>solace-cloud-client
solace.jms.clientPassword= <u>a29qovgiu8io1buvub6pm3gbv4

#Topic for incoming request
app.jms.topic = T/service/request
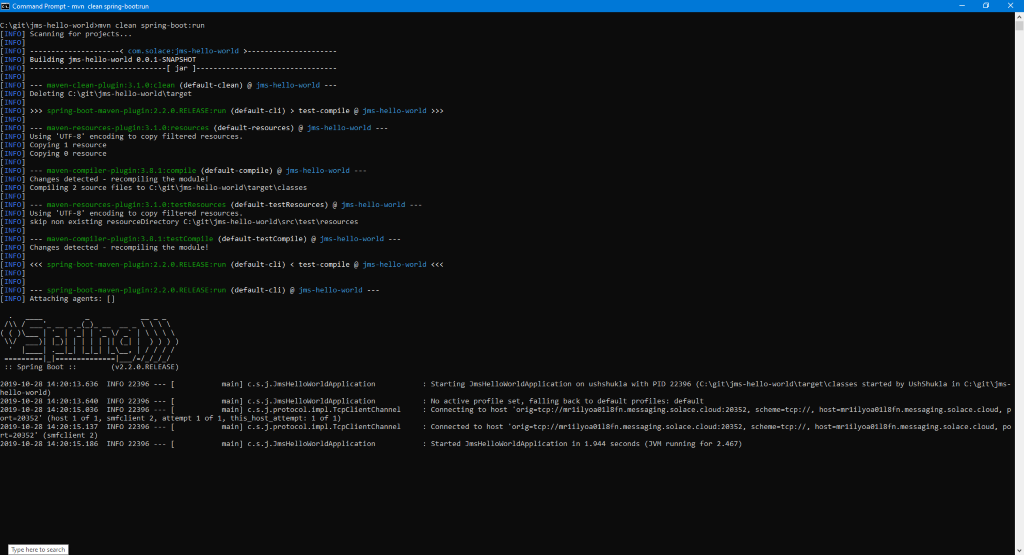
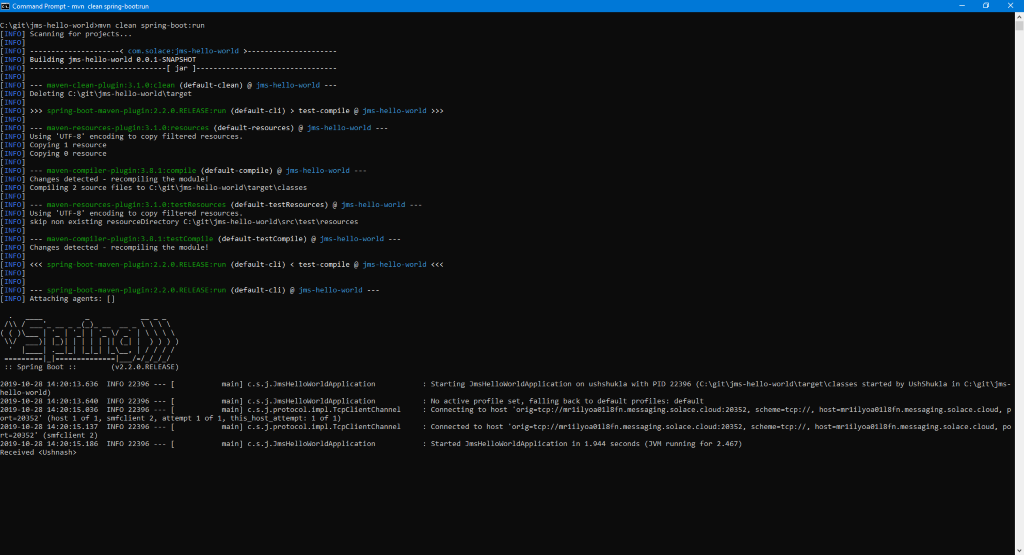
We start the service from the command line using mvn clean spring-boot:run
Assuming everything was configured correctly, the application should fire up and begin listening for request messages.
Finalizing our Postman Setup
Since this is a request/reply exercise, we need to ask PubSub+ Event Broker to keep the HTTP session open for a reply. We do this by setting the Solace-Reply-Wait-Time-In-ms to a reasonable value in milliseconds. This also has the effect of creating a temporary reply-topic on the broker where our Springboot service will send responses.
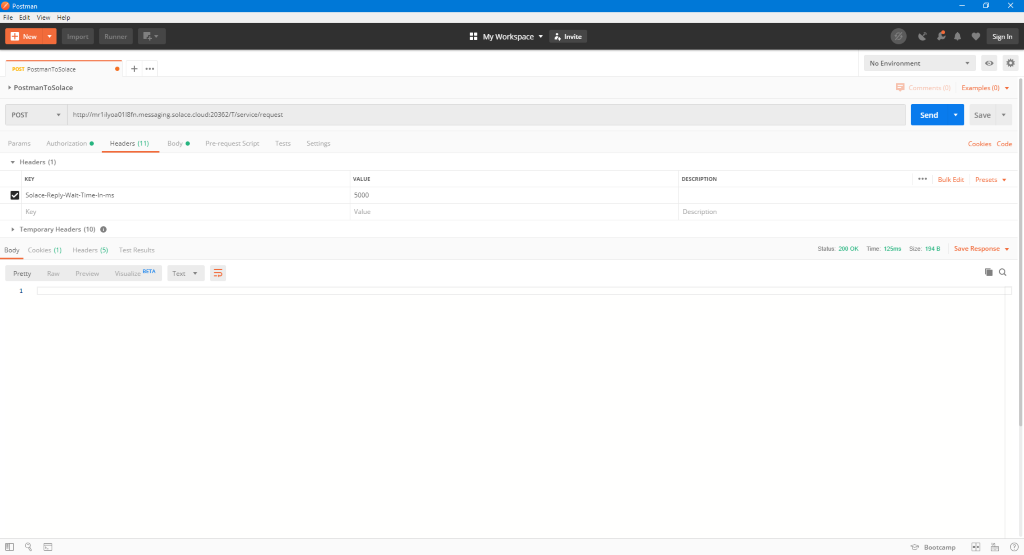
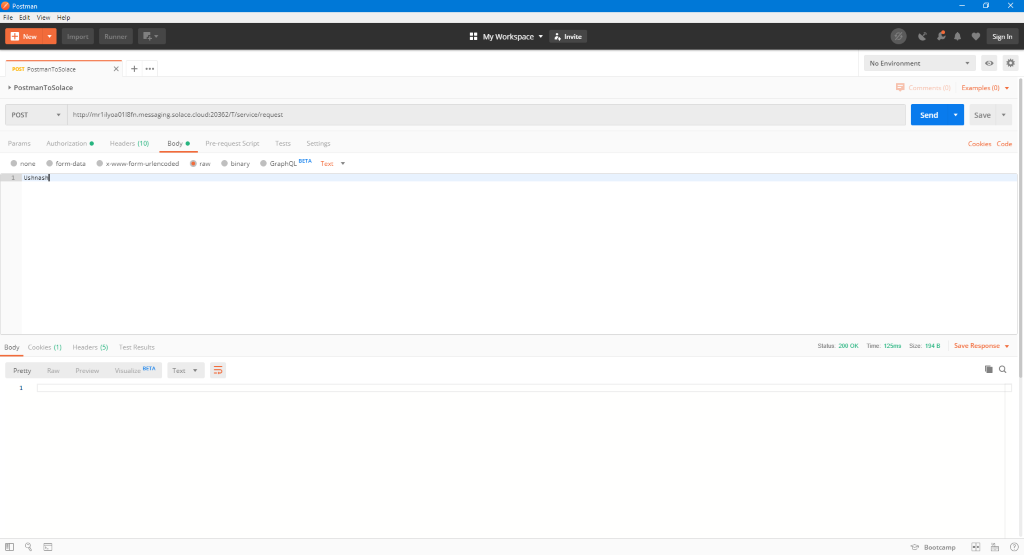
Finally, put your name (or any string, really) in the Body.
Testing the Integration
Time to test what we built! You should have the following configured and running:
- A PubSub+ Event Broker: Cloud instance
- Postman configured to send requests to the PubSub+ Event Broker and wait for responses
- A SpringbootJMS application listening for messages on
T/service/request
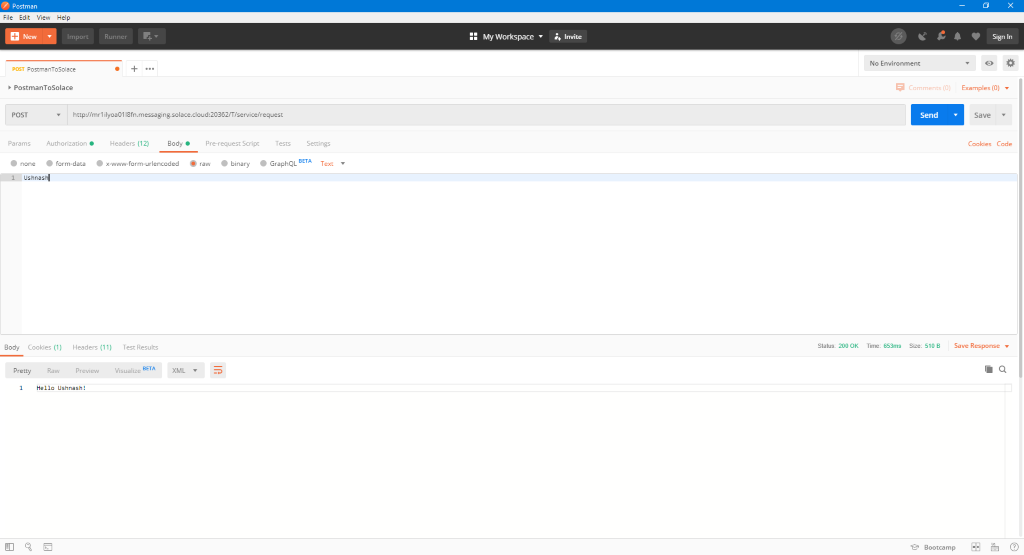
Save your Postman request and click Send. If everything goes well, Postman will receive a greeting from the backend service.
Conclusion
That’s it! In a few easy steps, we were able to:
- Send an HTTP request to PubSub+ using Postman.
- Consume the request in Java using JMS and respond back to Postman using HTTP.
The PubSub+ Event Broker took care of all the necessary API and protocol transformations for us.


Subscribe to Our Blog
Get the latest trends, solutions, and insights into the event-driven future every week.
By submitting this form, you agree to Solace’s privacy policy: solace.com/privacy-policy/