Watch our walkthrough or follow the steps below.

1. Install Docker

The easiest way to start publishing and subscribing with PubSub+ Standard is by launching a Docker container, so before you start, you need to have Docker installed on your host machine.

Don’t have Docker? Go to Docker – Get Started.

Already installed Docker? Proceed to step 2.

2. Run PubSub+ Broker

Pull the message broker image from the Docker repository and start a container instance using these two steps:

    1. Start Docker and open a command-line terminal.
    2. Enter the following docker run command:

Windows | Linux users

docker run -d -p 8080:8080 -p 55555:55555 -p 8008:8008 -p 1883:1883 -p 8000:8000 -p 5672:5672 -p 9000:9000 -p 2222:2222 --shm-size=2g --env username_admin_globalaccesslevel=admin --env username_admin_password=admin --name=solace solace/solace-pubsub-standard

Mac OS users

docker run -d -p 8080:8080 -p 55554:55555 -p 8008:8008 -p 1883:1883 -p 8000:8000 -p 5672:5672 -p 9000:9000 -p 2222:2222 --shm-size=2g --env username_admin_globalaccesslevel=admin --env username_admin_password=admin --name=solace solace/solace-pubsub-standard

This command starts a message broker container named solace, using the latest PubSub+ Standard image pulled from Docker Hub, creates an admin user with global access permissions, and publishes the following message broker container ports to the same ports on your host machine:

  • port 8080 — Use this port when configuring the message broker container with Solace PubSub+ Broker Manager.
  • port 55555 (Windows | Linux) / port 55554 (Mac OS) — Your applications can use Solace APIs to connect to the message broker on this port. Note that for Mac users we are mapping port 55554 to the default Solace SMF port of 55555 because Mac OS now reserves port 55555.
  • port 8008 — The JavaScript sample applications below use this port to pass Web Messaging traffic through the message broker.
  • ports 1883 & 8000 — Ports for MQTT connectivity, over TCP and over WebSockets respectively
  • port 5672 — AMQP 1.0 applications using Apache QPID APIs would connect here
  • port 9000 — Use REST to send messaging and event data with Solace’s RESTful API port
  • port 2222 — Use SSH to connect to the Solace Command Line Interface (CLI) for advanced configuration

2a. Subscribe to get the latest product notifications

Optional – Learn how to connect your microservices with PubSub+ from the pros at Solace who live and breathe this every day. We’ll send you helpful tips and tricks including tutorials and sample projects.

3. Run Samples

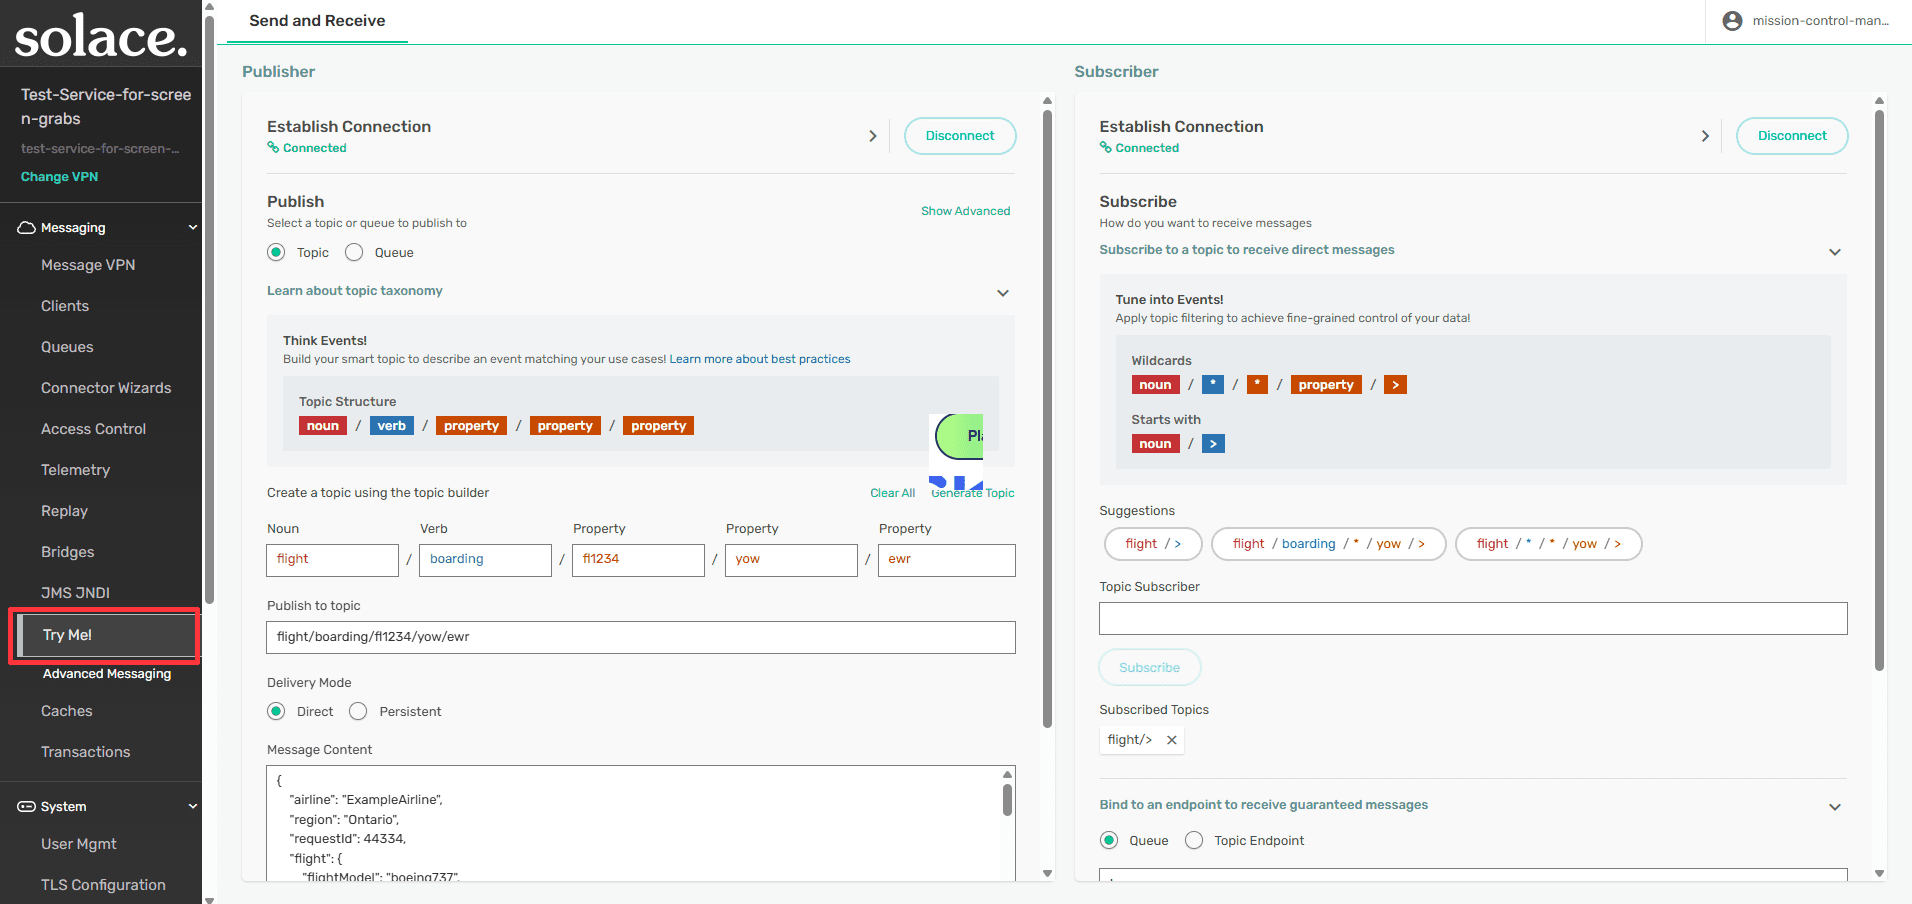
Now that you’ve started your message broker, you can publish and subscribe to a message using the sample Publisher and Subscriber applications below (this works best in a Chrome browser):

  1. Click Connect to connect the Publisher application to your message broker.
  2. Click Connect to connect the Subscriber application to your message broker.
  3. In the Subscriber application, click Subscribe to subscribe to the topic/try/me topic.
  4. In the Publisher application, click Publish to publish a “Hello World” message to the topic/try/me topic. The message you published is displayed under Messages in the Subscriber application.

Publisher

See the Pen Try Me Publisher by SolaceDevs(@solacedevs) on CodePen.


Subscriber

See the Pen Try Me Subscriber by SolaceDevs (@solacedevs) on CodePen.

4. Next Steps

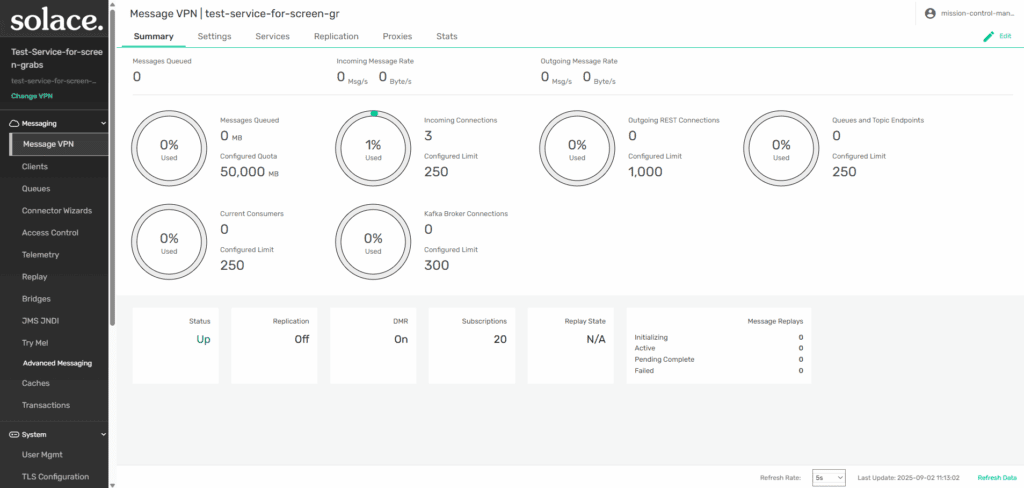
Congratulations! With these few steps you’ve used your message broker to transfer a message between publisher and subscriber. As a next step, you can access our management tool Solace PubSub+ Broker Manager to configure or monitor your message broker:

  1. Open a browser and enter this URL: http://localhost:8080.
  2. Log in as user admin with password admin.

If you’ve signed up for updates we’ll send you some cool projects you can use to learn more about using PubSub+ Standard. Otherwise, we encourage you to consider the following links to learn more about the various capabilities you have access to now that you have PubSub+ running in your environment:

  • For general information, or to learn how to configure PubSub+ features, check out our Customer Documentation.
  • For tutorials that teach you how to build applications to connect with PubSub+, head over to Developer Tutorials.

Learn the Fundamentals of Solace PubSub+

A developer’s guide to Solace Messaging

Free Udemy Course