Note: This blog post has been updated to reflect the changes in PubSub+ 9.5 release.
“OpenShift is an open source container application platform by Red Hat based on the Kubernetes container orchestrator for enterprise app development and deployment.” It is powered by okd which is “origin community distribution of Kubernetes.”
In this post, I will show you how you can easily deploy Solace PubSub+ Event Broker on OpenShift Origin 3.11. Needless to say, to follow along, you will need to have an OpenShift deployment handy.
As you may already know, Solace is a messaging company, known for its PubSub+ Event Broker. PubSub+ Event Broker can be deployed on premises, in cloud, and on several PaaS platforms such as OpenShift. Solace makes it easy for you to deploy PubSub+ Event Broker with different types of configurations (single node deployment, multi-node high availability deployment, etc.) via OpenShift templates. In this post, I we will focus on single node deployment.
Note that Solace has detailed instructions on different ways to deploy PubSub+ Event Broker on OpenShift on its GitHub page. Additionally, Solace also has some quickstart samples in a different repository, but for this blog post, we will be using the more detailed version. The following steps are meant to show you how to easily follow those instructions.
Let’s begin!
Step 1: Log in to OpenShift
Run the commands below to connect via SSH to your OpenShift master node and log in to OpenShift:
[centos@ ~]$ oc login
Authentication required for (openshift)
Username: admin
Password:
Login successful.
You don't have any projects. You can try to create a new project, by running
oc new-project
Step 2: Download OpenShift Template
Run the commands below to download the OpenShift template from Solace’s GitHub page:
[centos@ ~]$ mkdir ~/workspace
[centos@ ~]$ cd ~/workspace
[centos@ workspace]$ git clone https://github.com/SolaceProducts/solace-openshift-quickstart.git
Cloning into 'solace-openshift-quickstart'...
remote: Enumerating objects: 19, done.
remote: Counting objects: 100% (19/19), done.
remote: Compressing objects: 100% (18/18), done.
remote: Total 232 (delta 5), reused 4 (delta 0), pack-reused 213
Receiving objects: 100% (232/232), 1.91 MiB | 668.00 KiB/s, done.
Resolving deltas: 100% (104/104), done.
[centos@ workspace]$ cd solace-openshift-quickstart
Step 3: Create an OpenShift Project
Next, we will create and configure an OpenShift project called solace-pubsub :
[centos@ solace-openshift-quickstart]$ oc project solace-pubsub
Now using project "solace-pubsub" on server "https://<ip-address>:8443".
Step 4: Deploy PubSub+ Event Broker
Great, now all we have to do is start the necessary services to spin up our broker using the template that Solace has provided. We will be using the eventbroker_singlenode_template.yaml template in ~/workspace/solace-openshift-quickstart/templates/. EVENTBROKER_ADMIN_PASSWORD, one of the arguments to run this template, is the Base64-encoded password for your admin username. You can generate Base64 encoded password using the following command:
[centos@ templates]$ echo -n 'admin' | base64
YWRtaW4=
Alright, it’s finally the time to start the services with the commands below:
[centos@<ip-address> templates]$ oc process -f eventbroker_singlenode_template.yaml
DEPLOYMENT_NAME=test-singlenode EVENTBROKER_STORAGE_SIZE=30Gi
EVENTBROKER_ADMIN_PASSWORD=YWRtaW4= | oc create -f -
secret/test-singlenode-pubsubplus-secrets created
configmap/test-singlenode-pubsubplus created
serviceaccount/test-singlenode-pubsubplus-sa created
role.rbac.authorization.k8s.io/test-singlenode-pubsubplus-podtagupdater created
rolebinding.rbac.authorization.k8s.io/test-singlenode-pubsubplus-serviceaccounts-to-podtagupdater created
service/test-singlenode-pubsubplus created
statefulset.apps/test-singlenode-pubsubplus created
Give it about a minute and then run the following command to get the external IP:
[centos@ templates]$ oc get svc
NAME TYPE CLUSTER-IP EXTERNAL-IP PORT(S) AGE
test-singlenode-solace LoadBalancer aa4ca731ff6a711e9b11706a37272a39-1081382337.ap-northeast-1.elb.amazonaws.com 22:31508/TCP,8080:31300/TCP,55555:31135/TCP,55003:32629/TCP,55443:31725/TCP,943:30512/TCP,80:32479/TCP,443:32489/TCP 8m
test-singlenode-solace-discovery ClusterIP None 8080/TCP 8m
Now, use the Load Balancer’s external Public IP at port 8080 to access these services. In my case, it would be: http://aa4ca731ff6a711e9b11706a37272a39-1081382337.ap-northeast-1.elb.amazonaws.com:8080
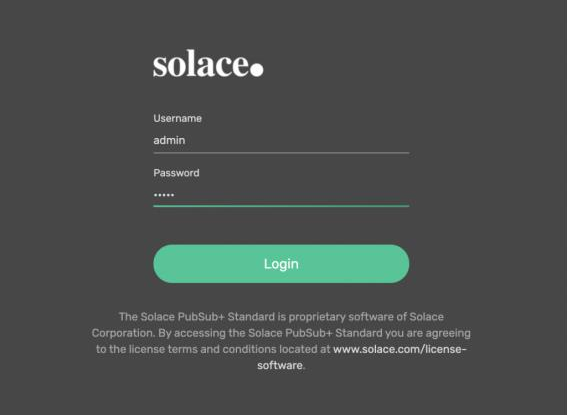
You should now see Solace’s PubSub+ Standard login page where you can enter your username and password and click Login.
That will lead you to Solace PubSub+ Broker Manager, where you can see your default VPN:
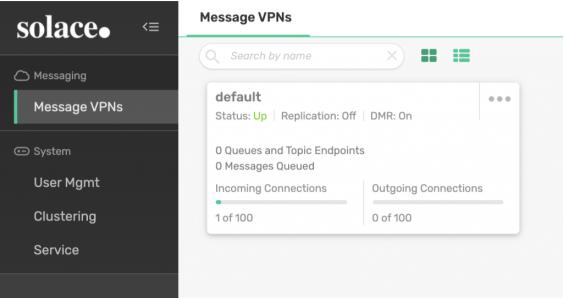
Click the default VPN to see more details about the VPN.
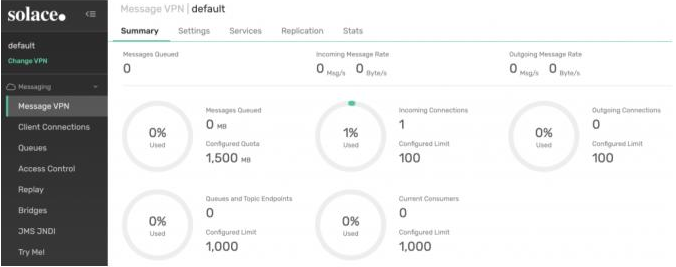
And that’s it! Your single PubSub+ Event Broker is up and running on OpenShift!
Step 5: Terminating Your PubSub+ Event Broker
Finally, you might want to terminate the broker if you no longer need it. To do so, you will need to first stop your services:
[centos@<ip-address> templates ]$ oc process -f eventbroker_singlenode_template.yaml
DEPLOYMENT_NAME=test-singlenode | oc delete -f -
secret "test-ha-solace-secrets" deleted
configmap "test-singlenode-solace" deleted
Then, delete your Persistent Volume by deleting your Persistent Volume Claim (PVC):
[centos@ ~]$ oc get pvc
NAME STATUS VOLUME CAPACITY ACCESS MODES STORAGECLASS AGE
data-test-singlenode-solace-0 Bound pvc-a4cfb5cd-f6a7-11e9-b117-06a37272a390 30Gi RWO gp2 1h
[centos@ ~]$ oc delete pvc data-test-singlenode-solace-0
persistentvolumeclaim "data-test-singlenode-solace-0" deleted
It may take few seconds, so be patient. Once it is deleted, you can delete your OpenShift project.
[centos@ ~]$ oc delete project solace-pubsub
project.project.openshift.io "solace-pubsub" deleted
You broker has now been terminated!
I hope you found this post useful. For more information, visit PubSub+ for Developers. If you have any questions, post them to the Solace Developer Community.
Explore other posts from category: For Developers


Subscribe to Our Blog
Get the latest trends, solutions, and insights into the event-driven future every week.