In this tutorial, you will learn how to build a simple chat browser application. At the end of the tutorial, the application will be able to send and receive messages via a direct topic subscription. Specifically, you will learn how to build the application, connect it to Solace PubSub+ Cloud, and start publishing/receiving messages.
Prerequisites
- Download Git to your computer
- Install Apache Maven
- Sign up with Solace PubSub+ Cloud
Level
- Beginner
Build the Application
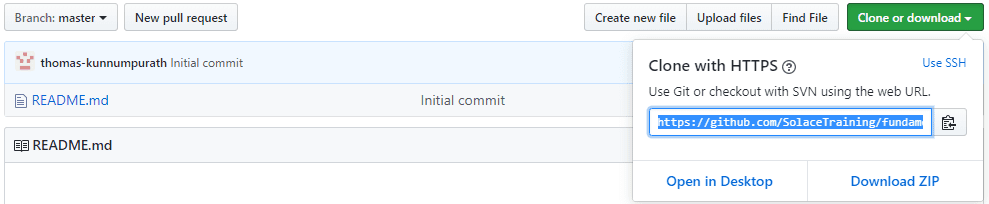
- On the Solace Training page, select master from the Branch drop-down menu, open the Clone or download tab, and copy the URL.

- In your command line, type the following code line to clone a repository to your computer.
git clone https://github.com/SolaceTraining/fundamentals-of-solace-dev.git - In your code editor, check out the developer-exercise-1 branch or in your command line, enter
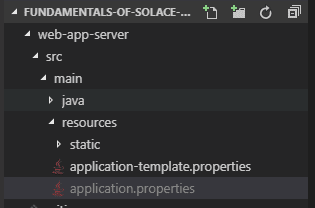
git checkout remotes/origin/developer-exercise-1 - Under src > main > resources, duplicate the file application-template.properties and rename it to application.properties.

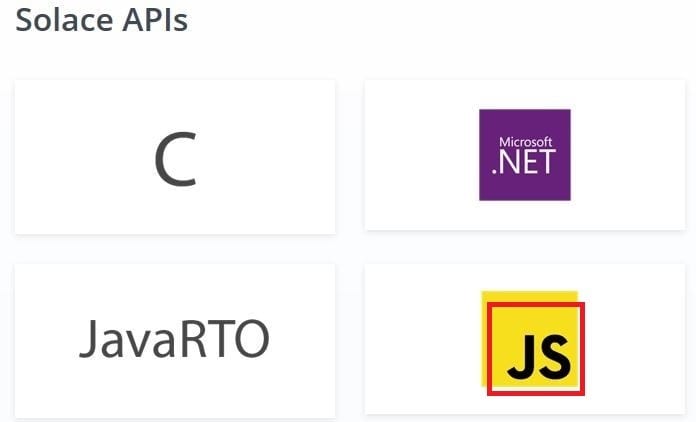
- Download the Solace JavaScript messaging API.

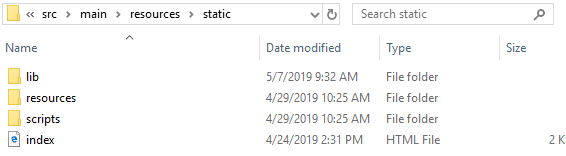
- Copy the lib directory of your downloaded JavaScript API to the static directory of your cloned repository under src > main > resources.

- Download Maven if you have not already done so.
- In your command line, enter
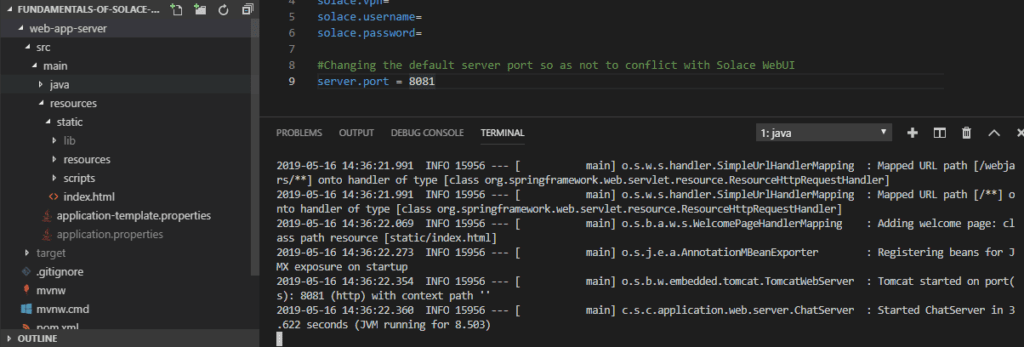
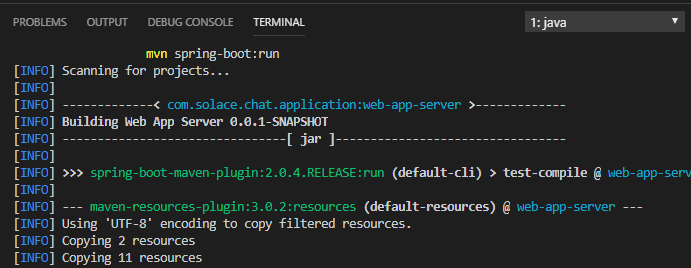
mvn clean installto compile the application. - Type
mvn spring-boot:runto run the Web server. Make sure you are in the \web-app-server directory.

Connect to the PubSub+ Cloud Service
You have created your application. However, it needs to connect to the PubSub+ Cloud service for it to work.
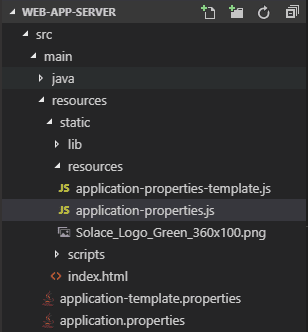
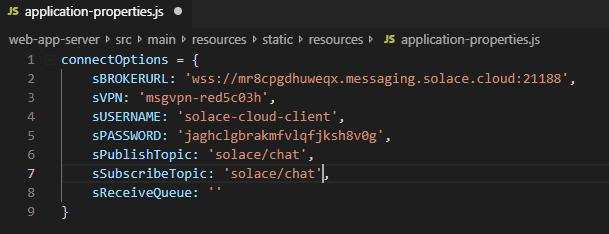
- Under static > resources, duplicate the application-properties-template.js file and rename it to application-properties.js.

- Log in to Solace PubSub+ Cloud.
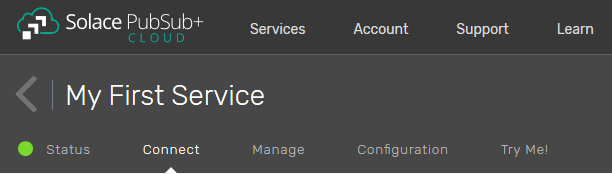
- Click the Create Service button to create a service.
- Click the Connect tab.

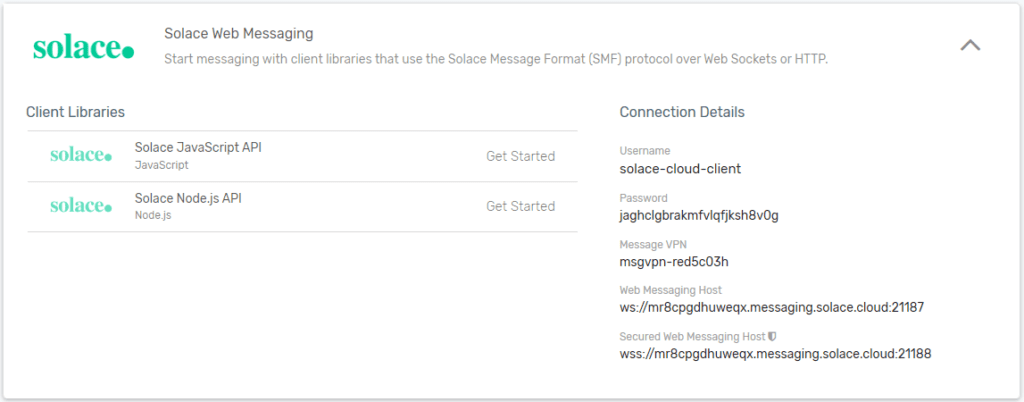
- Open the Solace Web Messaging section.

- Copy the connection details to the application-properties.js file, add ‘solace/chat’ as the Publish and Subscribe topics, and save the file.

Note: Since we need the secure WebSocket connection, make sure that you use Secured Web Messaging Host as the sBROKERURL, not Web Messaging Host. - Type
mvn spring-boot:runto run the application.
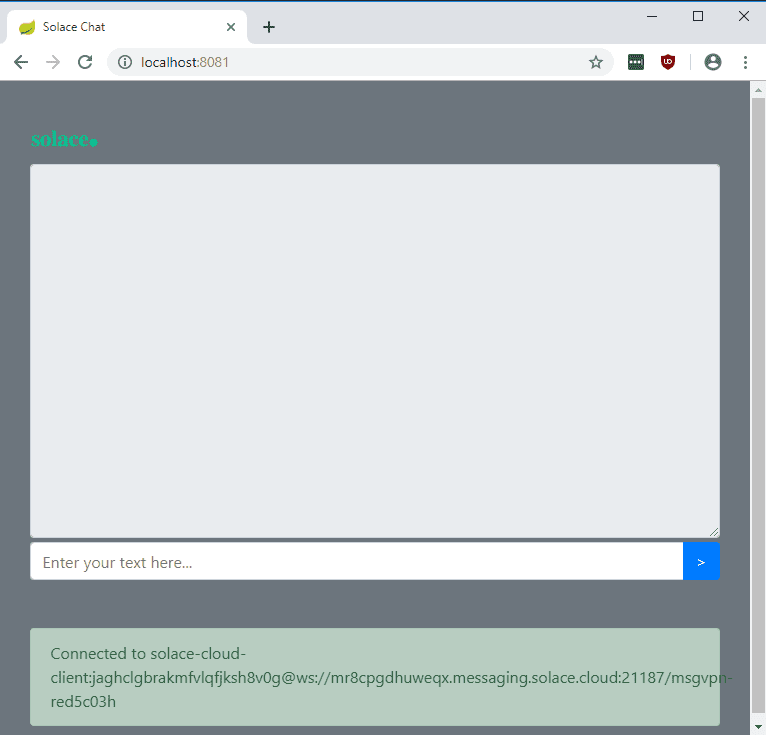
- In your Web browser, type
localhost:8081to view the application.

You should see a message that says you are connected to your PubSub+ Cloud service.
Publish and Receive Messages
Though the application is connected to your PubSub+ Cloud service, it cannot yet publish and subscribe. In this section, you will modify the sample code to publish the messages to the Solace broker so that people who connect to it can receive them.
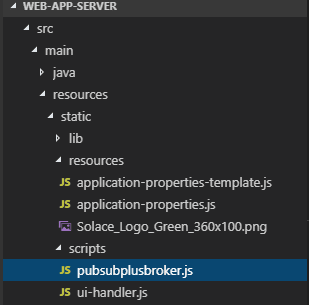
- Under the script directory, open the pubsubplusbroker.js file.

- Type the code lines as shown below to create the message, define the topic destination, and set the delivery mode and the message body.

Learn about message delivery modes.
Learn about topics and topic support.
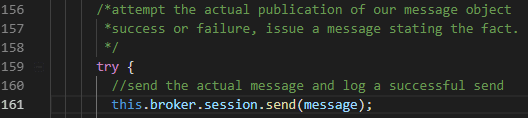
Learn what each of the above code lines does. - Type the code line shown below to call the broker session and send the message.

- Uncomment the oResultCallback and console.debug command lines so that you can see if the message is actually published.

- Run the application.
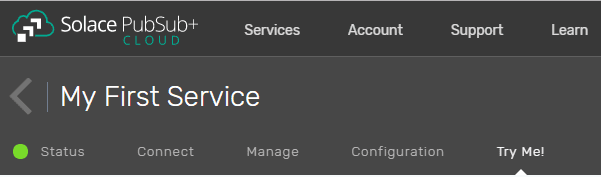
- Log in to your Solace PubSub+ Cloud and click the Try Me! tab.

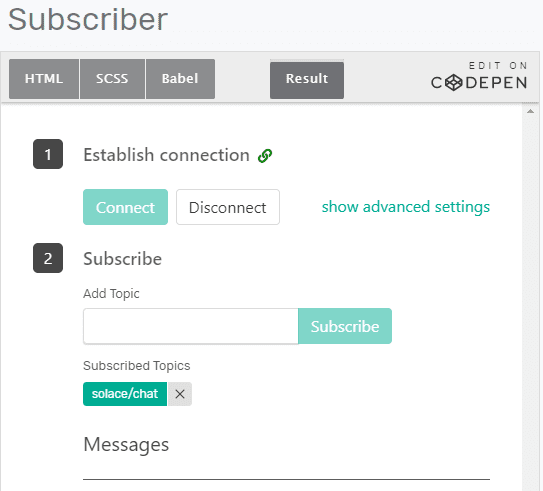
- In the Subscriber section, click the Connect button, add the topic “solace/chat”, and click the Subscribe button.

- In your Web browser, type localhost:8081 or refresh the browser if you are already there.
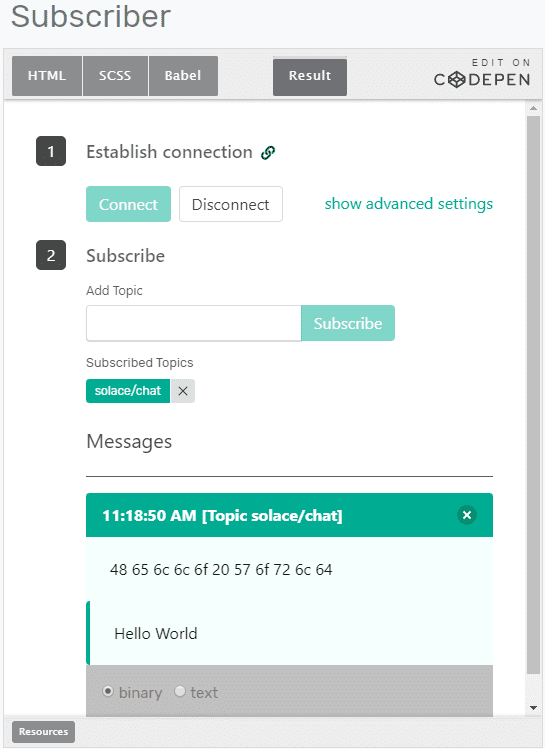
- In the application, type “Hello World” and click the arrow.
You should see that the subscriber has received the message.

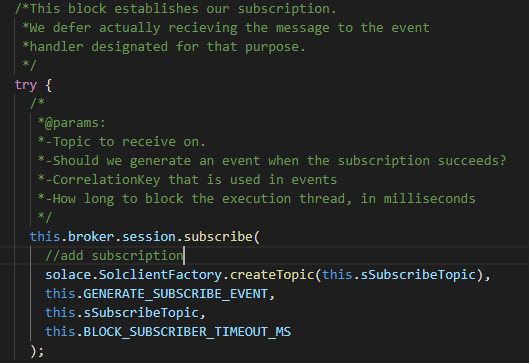
- In the establishing the subscription section of the pubsubplusbroker.js file, type the following code lines to create a topic, generate an event, pass in a correlation key for the event, and define the number of milliseconds it will wait before stopping to add the subscription to the connection.

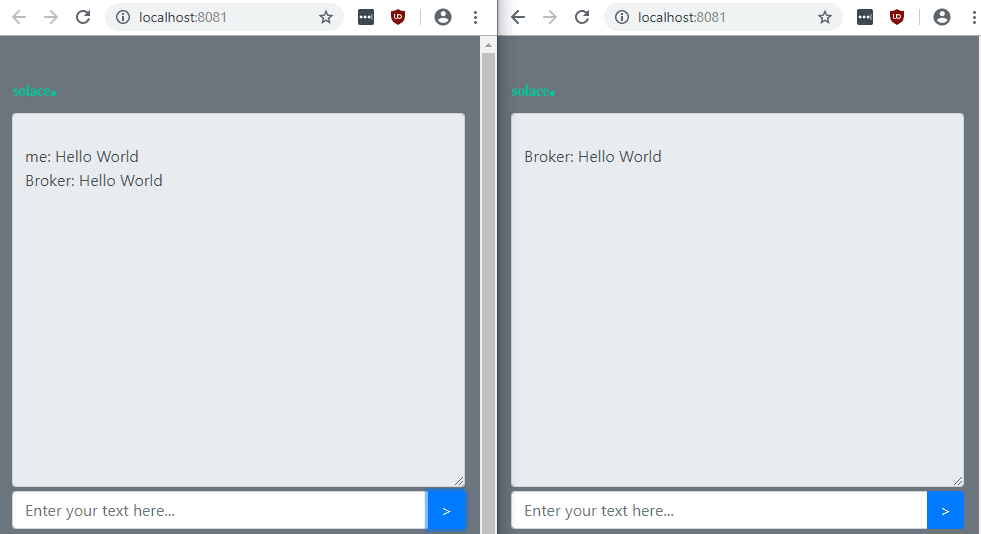
- Run the application.
- In the application in the browser, type a message and send it out.
- Open another browser at localhost:8081.
You should see that the message has been received.


Congratulations!
You have just created a chat application with Solace and sent and received messages via it. In the next part, you will learn how to modify the sample code so that the application consumes messages from a queue instead of via a direct topic subscription.
Related
- How to Build a Simple Chat Application with Solace (Part 6)
- How to Build a Simple Chat Application with Solace (Part 5)
- How to Build a Simple Chat Application with Solace (Part 4)
- How to Build a Simple Chat Application with Solace (Part 3)
- How to Build a Simple Chat Application with Solace (Part 2)
- How to Build a Simple Chat Application with Solace (Part 1)
- Udemy Course: Fundamentals of Solace Development
Explore other posts from category: For Developers


Subscribe to Our Blog
Get the latest trends, solutions, and insights into the event-driven future every week.