This is the sixth post in a series in which I walk through the creation of a simple chat app with Solace PubSub+. In the last part, I explained how to send a REST POST request as a request/reply message. In this final part, you will learn how to create the non-exclusive queue that will receive the login request and load balance them out to the authentication server. Specifically, you will:
- Create the non-exclusive queue
- Add the topic subscription to the new queue
- Modify the authentication server
- Test the load balancing functionality
Prerequisites
- Download Git to your computer
- Install Apache Maven
- Sign up with Solace PubSub+ Cloud
- Clone a repository of the samples to your computer
Level
- Beginner
Create the Non-Exclusive Queue
You need to create a queue for our PubSub+ Cloud instance to receive and save the login request for the authentication server. To create the queue, follow the steps below:
- In your code editor, check out the developer-exercise-5 branch or in your command line, enter
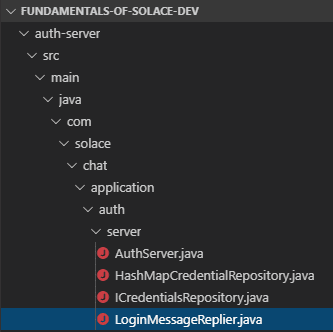
git checkout remotes/origin/bonus -f - In your code editor, open the file LoginMessageReplier.java under auth-server > server.

Line 50 contains the name of the queue “LOGIN_QUEUE”. - Log in to Solace PubSub+ Cloud, select your service, and click Manage Service.

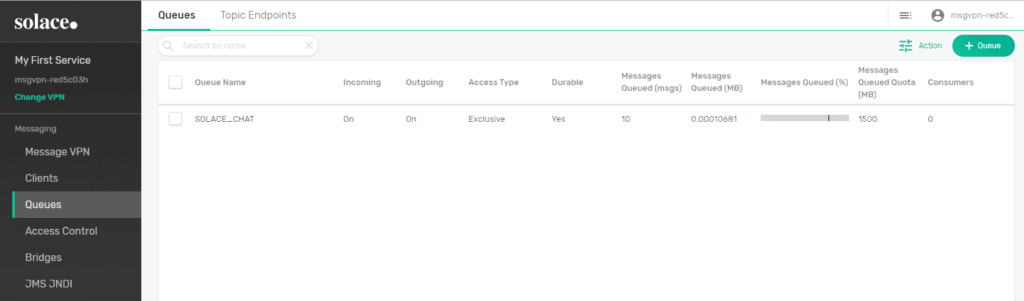
- Click Queues in the left side.

- Click the + Create button to create a new queue.
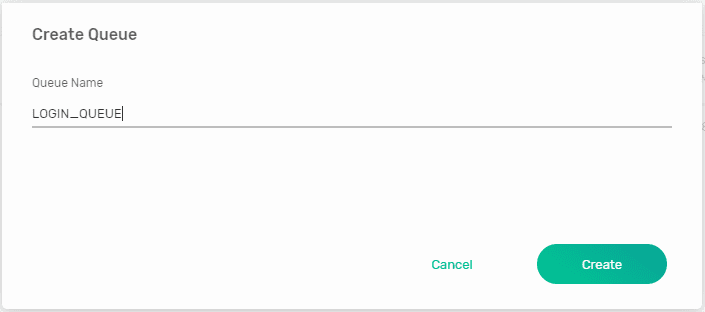
- In the Create Queue dialog box, name the queue LOGIN_QUEUE and click Create.

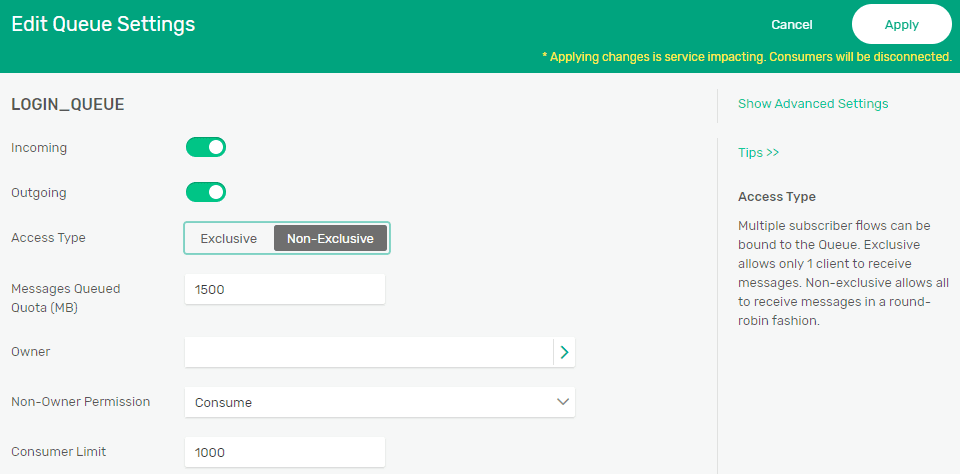
- In the Edit Queue Settings dialog box, change the Access Type to Non-Exclusive and click the Apply button.
Exclusive queues are for fault tolerance while non-exclusive queues are for load balancing. Learn about queue access types.

- In the Confirm dialog box, click Apply changes.


Add the Topic Subscription to the Queue
-
- Click on the new LOGIN_QUEUE queue and click the Subscription tab.

- Click on the new LOGIN_QUEUE queue and click the Subscription tab.

- Click the + Subscription button to open the Create Subscription dialog box.
- In the Create Subscription dialog box, add LOGIN/MESSAGE/REQUEST as the topic subscription, press Enter, and click Create.
Modify the Authentication Server
You are going to modify the authentication server to consume from the login request instead of receiving messages via a topic subscription.
- Under the auth-server directory, open the LoginMessageReplier.java file.
- Enter the following code to set the endpoint properties. (Lines 90-91).
//Add the Queue Logic Here
final EndpointProperties endpointProps = new EndpointProperties();
- Enter the following code to set the queue permissions and access type (Lines 92-94).
//Set queue permissions to ‘consume’ and access type to ‘non-exclusive’
endpointProps.setPermission(EndpointProperties.PERMISSION_CONSUME);
endpointProps.setAccessType(EndpointProperties.ACCESSTYPE_NONEXCLUSIVE);
- Enter the following code to create the queue object (Lines 96- 97).
//Create the queue object locally
final Queue queue = JCSMPFactory.onlyInstance().createQueue(QUEUE_NAME);
- Enter the following code to provision the queue to ensure that it binds to an existing queue (Lines 98-101).
//Actually provision the queue, and do not fail if it already exists
session.provision(queue, endpointProps, JCSMPSession.FLAG_IGNORE_ALREADY_EXISTS);
System.out.printf(“Attempting to bind to the queue ‘%s’ on the PubSub+ Broker.%n”, QUEUE_NAME);
- Enter the following code to create consumer flow properties and the flow object (Lines 102-104).
//Create a Flow be able to bind to and consume messages from the Queue
final ConsumerFlowProperties flowProps = new ConsumerFlowProperties();
flowProps.setEndpoint(queue);
The consumer flow properties define the queue that you would like to connect to.
- Enter the following code to set the acknowledgment mode for the flow (Line 105-107).
//Set to ‘auto acknowledge’ where the API will ack back to Solace at the end of the
//message received callback
flowProps.setAckMode(JCSMPProperties.SUPPORTED_MESSAGE_ACK_AUTO);
There are two types of acknowledgment modes: AUTO and CLIENT. Learn more about acknowledgment modes.
- Enter the following code to create the flow receiver and receive the messages (Lines 109-118).
final FlowReceiver cons = session.createFlow(new LoginRequestHandler(),
     flowProps, endpointProps, new FlowEventHandler() {
          @Override
          public void handleEvent(Object o, FlowEventArgs flowEventArgs) {
               System.out.println(o, toString() + “,” + flowEventArgs);
          }
      })

//Start the consumer
cons.start();
This code snippet lets you handle events and print out the information to the console.
Test the Load Balancing Functionality
With the load balancing consumption pattern, your applications are not blocked when your replying applications cannot keep up with the number of requests.
To test the load balancing functionality of the login server, follow these steps to start multiple authentication server instances and see how they load balance the login requests. Note that there should be one web-server instance and two auth-server instances running for the final test. Also make sure that you have the right environment variables.
- In your code editor, type
mvn spring-boot:rununder the auth-server directory to run one instance of the authentication server of the Web application. - Open a new terminal in your code editor and type
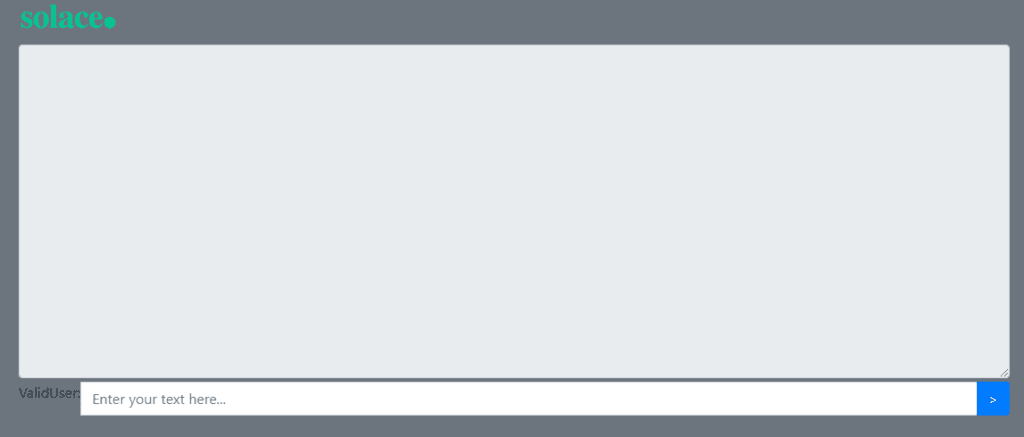
mvn spring-boot:rununder the auth-server directory to run the second instance of the authentication server of the Web application. - Open two Web browsers and enter localhost:8081 for each of them to access the Web application.
- In one of the instances of the Web application, enter the valid username “ValidUser” and password “solace”.

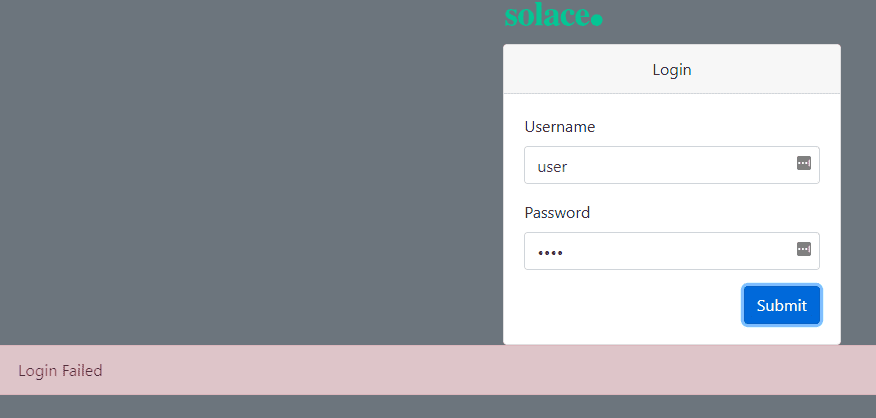
The login succeeds because this user is in the HashMapCredentialRepository.java file. - In the other instances of the Web application, enter the username “user” and password “user”.

This time, the login fails because this user is not in the HashMapCredentialRepository.java file.
Congratulations!
You have successfully added code to bind to the login queue and respond to the request messages.
Not only that, you have reached the end of the series! To learn more about PubSub+ for developers, visit solace.dev. To share your developer experience using Solace PubSub+ or ask for help from other developers, visit the Solace Community.
Related
- How to Build a Simple Chat Application with Solace (Part 5)
- How to Build a Simple Chat Application with Solace (Part 4)
- How to Build a Simple Chat Application with Solace (Part 3)
- How to Build a Simple Chat Application with Solace (Part 2)
- How to Build a Simple Chat Application with Solace (Part 1)
- Udemy Course: Fundamentals of Solace Development
Explore other posts from category: For Developers


Subscribe to Our Blog
Get the latest trends, solutions, and insights into the event-driven future every week.