This is part 4 of a series of blog posts in which I walk through the creation of a simple chat app with Solace PubSub+. In the first part, I explained how to create a simple chat app that can send and receive messages via a direct topic subscription. In the second I explained how to modify the sample code so the application consumes messages from a queue, and in part 3 I explained how to add login functionalities to send a REST POST request to Solace PubSub+.
In this tutorial, you will learn how to add a simple authentication server. The server will first receive the client login request from the web application, then authenticate the user, and finally send a REST POST response back to the application to either allow or deny the login request.
Specifically, you will
- Set the connection details
- Create and send the REST POST request
- Test the REST POST request
Prerequisite
-
- Download Git to your computer
- Install Apache Maven
- Sign up with Solace PubSub+ Cloud
- Clone a repository of the samples to your computer
Level
- Beginner
Set the Connection Details
The setting of the connection details tells the Web application server where to send the REST POST login request to so that the Solace instance can receive it.
To set the connection details, do the following:
- In your code editor, check out the developer-exercise-4 branch or in your command line, enter
git checkout remotes/origin/developer-exercise-4 -f - In your code editor, enter
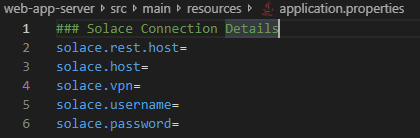
mvn installto run a Maven install in solace-chat-common. - Under src > main > resources, open the file
application.properties.

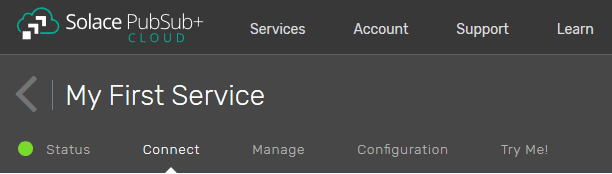
- Log in to Solace PubSub+ Cloud.
- Click the Connect tab.

- Open the REST section.

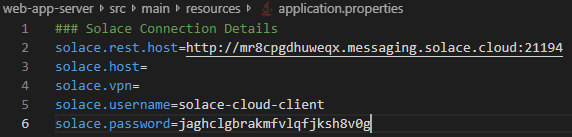
- Copy the username, password, and REST host information from the Connection Details section and paste them to the application.properties file under src > main > java > resources.


Create and Send the REST POST Request
Now the connection details are set, you can create and send the REST POST request to the PubSub+ instance as a Publish/Subscribe message:
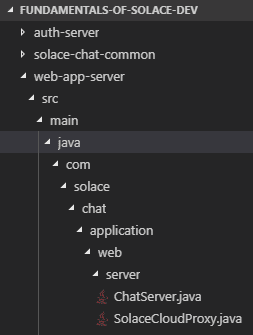
- In your code editor, under src > main > java, open the file SolaceCloudProxy.java.

- Enter the following code to create a REST template object (Line 63).
//Rest Request goes here
RestTemplate restTemplate = new RestTemplate();
RestTemplatemakes HTTP REST calls and simplifies the interaction with HTTP servers. - Enter the following code below the above code to create the HTTP entity with the user object type (Line 64).
HttpEntity<UserObject> request = new HttpEntity<UserObject>(userObject,httpHeaders);
The user authentication type contains just a username and password. solace-chat-common has the reference to it.
- Enter the following code to add the POST for the object to the REST template (Line 65).
restTemplate.postForObject(solaceRESTHost + “/LOGIN/MESSAGE/REQUEST”,request, String.class);
You defined
solaceRESTHostat Step 7 of the “Set the Connection Details” section above.
/LOGIN/MESSAGE/REQUESTis the specific topic that you are sending the REST POST request to. - Enter the following code to return a response entity (Line 66).
return new ResponseEntity(HttpStatus.OK);
ResponseEntitycreates an HTTP response.Test the REST Request
Now you have created and sent the REST POST request, you can test whether the request is actually delivered to the Solace instance.
- In your code editor, enter
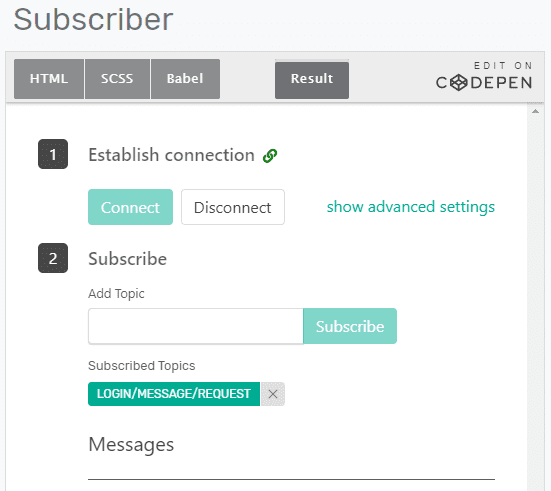
mvn spring-boot:runto start the web application. - In Solace PubSub+ Cloud, click the Try Me! tab.

- In the Subscriber panel, click the Connect button, enter LOGIN/MESSAGE/REQUEST as the topic, and click the Subscribe button.

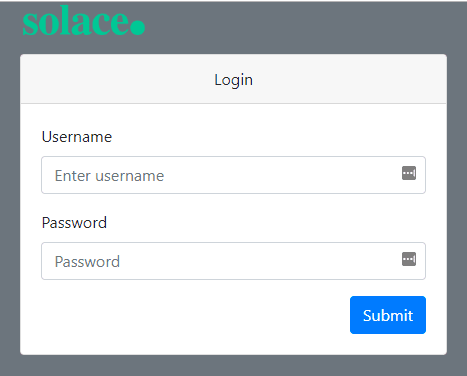
- Open a new browser and enter
localhost:8081to bring up the web application.

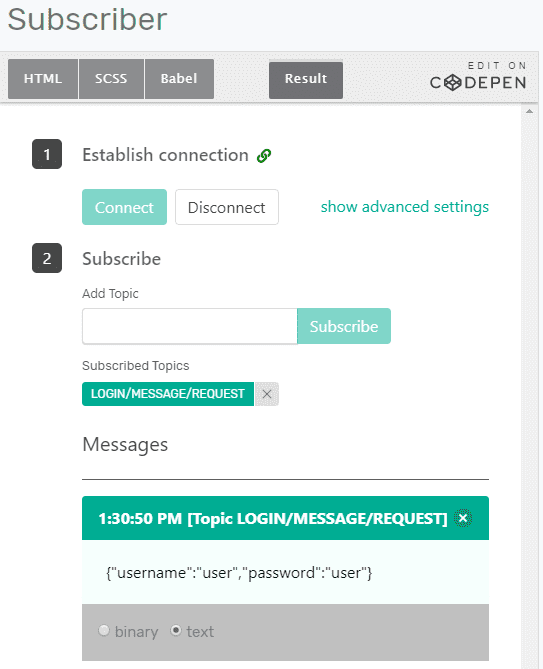
- Enter “user” as the username and password and click the Submit button.
You should see the Try Me! tab has received the message.

Congratulations! You have successfully added an authentication server, sent a REST POST request to the server as a Publish/Subscribe message, and received a response from it. In the next part, you will learn how to send the REST POST request as a Request/Reply message.
Related
- How to Build a Simple Chat Application with Solace (Part 6)
- How to Build a Simple Chat Application with Solace (Part 5)
- How to Build a Simple Chat Application with Solace (Part 4)
- How to Build a Simple Chat Application with Solace (Part 3)
- How to Build a Simple Chat Application with Solace (Part 2)
- How to Build a Simple Chat Application with Solace (Part 1)
- Udemy Course: Fundamentals of Solace Development
- In your code editor, enter
Explore other posts from category: For Developers


Subscribe to Our Blog
Get the latest trends, solutions, and insights into the event-driven future every week.