This is part 3 of a series of blog posts in which I walk through the creation of a simple chat app with Solace PubSub+. In the first part, I explained how to create a simple chat app that can send and receive messages via a direct topic subscription. In the second I explained how to modify the sample code so the application consumes messages from a queue. In this part, I’ll explain how to send a REST POST request from a login page to a dummy authentication service fronted by Solace PubSub+.
Specifically, you will:
- Add a server URL
- Complete fetch parameters
Prerequisites
- Download Git to your computer
- Install Apache Maven
- Sign up with Solace PubSub+ Cloud
- Clone a repository of the samples to your computer
Level
- Beginner
Add a Server URL
By adding a server URL, you define where the REST POST request is sent to. To add a server URL, do the following:
- In your code editor, check out the developer-exercise-3 branch or in your command line, enter
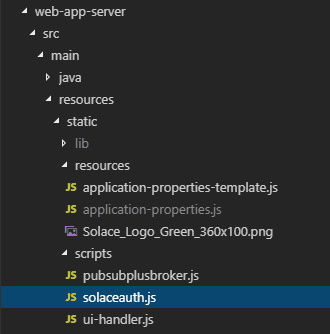
git checkout remotes/origin/developer-exercise-3 -f - Open the solaceauth.js file under
src > main > resources > static > scripts
- Enter the highlighted code to add the server URL (Line 15).
//Enter serverUrl
var serverUrl = ‘http://localhost:8081/solace/cloud/proxy’,
This URL sends the request through our web application server, which sends it to our Solace instance.
Complete Fetch Parameters
The fetch method defines how information is obtained from the server. Do the following to add the method and headers parameters:
- Enter the highlighted code to add POST as the method (Lines 22-23).
//Complete fetch parameters; method and headers fetch(serverUrl, { method: “POST”, - Under the above code, enter the highlighted code to set the content-type of the request header (Lines 24-25).
headers: {
   “Content-Type”: “application/json; charset=utf-8”,
This tells the receiving server to deal with the REST message content in JSON format with the UTF-8 character encoding.
- In your code editor, type
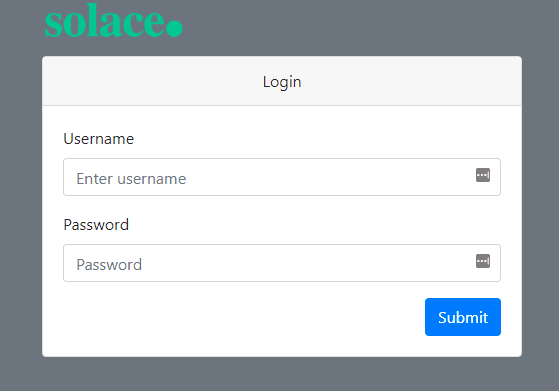
mvn spring-boot:runto run the application. - In your Web browser, enter localhost:8081 to see the login page.

- Type any username and password. You should get a “Login Failed” message.

This is because we have just sent the REST POST request to the Solace instance and have not yet set up the login server. We will do that in the next tutorial.

Congratulations!
You have added login functionalities to the Web application to send a REST POST request to Solace PubSub+.
In the next part of the series, you will learn how to add a simple authentication server.
Related
- How to Build a Simple Chat Application with Solace (Part 6)
- How to Build a Simple Chat Application with Solace (Part 5)
- How to Build a Simple Chat Application with Solace (Part 4)
- How to Build a Simple Chat Application with Solace (Part 3)
- How to Build a Simple Chat Application with Solace (Part 2)
- How to Build a Simple Chat Application with Solace (Part 1)
- Udemy Course: Fundamentals of Solace Development
Explore other posts from category: For Developers


Subscribe to Our Blog
Get the latest trends, solutions, and insights into the event-driven future every week.