My colleague Victor and I have previously blogged about how to use OAuth and OpenID Connect (OIDC) to authenticate and authorize Solace message format (SMF) clients with PubSub+ Event Broker. In this post I will explain how to use Ping Identity as an identity provider to authenticate and authorize users of PubSub+ Manager using an interactive login. If you’re not familiar, Ping Identity provides federated identity management and self-hosted identity access management (IAM) solutions to web identities and single sign-on solutions.
Connecting a user to PubSub+ Manager using OIDC
Connecting a user to PubSub+ Manager using OIDC differs from connecting SMF clients in several ways. SMF clients are typically applications that run without a human user present (it is possible to create a SMF application that runs in a web browser using the Solace JavaScript API but, this is not usually the case). As such from an OAuth point of view, a client credentials grant type might be appropriate, where the application can connect directly to the authorization server’s token endpoint and exchanges the client credentials for an access token.
The client credential grant type is not appropriate for an interactive application like PubSub+ Manager. The authorization code grant was created for this type of application. Without going into details, the authorization code grant uses a series of re-directs to send the user to the identity provider to enter their credentials and then returned back to the original webpage authenticated and authorized by the identity provider. In this example PubSub+ Manager will be configured for interactive login using Ping Identity as the identity provider.
Step 1: Set up PubSub+ Event Broker
To get started, you’ll need a running instance of PubSub+ to configure. Solace just released support for rootless Podman in PubSub+ release 10.1; this is a good opportunity to try that out at the same time. On my windows laptop, I have an Ubuntu 22.04 installation in WSL2. I installed Podman into my Ubuntu install, following the install instructions provided on the Podman webpage.
Before creating the rootless instance of PubSub+ using Podman, there is a bit of prep that needs to be done. To do an OAuth / OIDC login, PubSub+ Manager needs to be accessed over TLS and for that you need to configure the PubSub+ instance with a server certificate. For this, generate a simple self-signed certificate (not recommended for a production use-case). Create a file called solace.cnf with the following content:
[req]
default_bits  = 2048
distinguished_name = req_distinguished_name
req_extensions = req_ext
x509_extensions = v3_req
prompt = no
[req_distinguished_name]
countryName = CA
stateOrProvinceName = N/A
localityName = Ottawa
organizationName = Solace
emailAddress = myemail@email.com
organizationalUnitName = myorg-unit
commonName = solace
[req_ext]
subjectAltName = DNS:solace, DNS:localhost
[v3_req]
subjectAltName = DNS:solace, DNS:localhost
To create the certificate in a format that can be loaded into the PubSub+ instance, issue the following commands:
$ openssl req -x509 -nodes -days 730 -newkey rsa:2048 -keyout solace.key -out solace.crt -config solace.cnf
$ cat solace.crt solace.key > solace.pem
Using the Rootless Podman for Ubuntu Getting Started Guide from https://docs.solace.com as a starting point to create the rootless instance of PubSub+, create a directory to store the state for the PubSub+ container:
$  mkdir /home/<user-name>/storage-group
$ podman unshare chown 1000:0 -R /home/<user-name>/storage-group
Then create the container instance mounting the certificate and storage-group inside the container.
podman run -d -u 1000 --shm-size=1g \
-p 8080:8080 -p 55555:55555 -p 1943:1943 \
--env username_admin_globalaccesslevel=admin \
--env username_admin_password=admin \
--net slirp4netns:port_handler=slirp4netns \
--mount type=bind,source=/home/<user-name>/storage-group,destination=/var/lib/solace,relabel=private,ro=false \
--mount type=bind,source=/home/<user-name>/solace.pem,destination=/var/run/secrets/solace.pem,relabel=private,ro=false \
--env tls_servercertificate_filepath=/var/run/secrets/solace.pem \
--name solace docker.io/solace/solace-pubsub-standard:edge
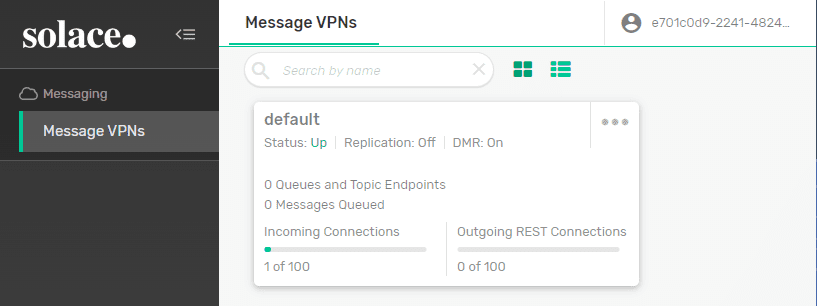
Once that instance starts up, you should be able to point your web browser at https://localhost:1943 to access PubSub+ Manager. The admin password is admin.
That gives us a running instance of PubSub+ that can be configured for interactive login using Ping Identity as the identity provider. The next step is to sign up for a trial account from Ping Identity.
Step 2: Configure Ping
Go to https://www.pingidentity.com and click “Try Ping for Free” to sign up for a 28day free trial. Once your trial is activated, login.
The first step is to create an environment:
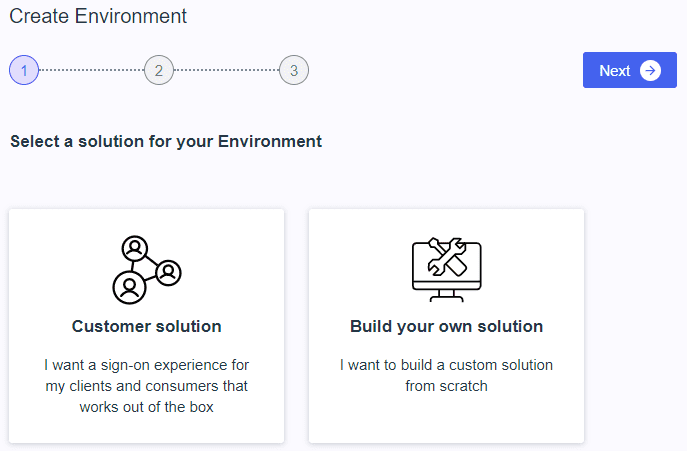
Select “Build your own solution” and click “Next”.
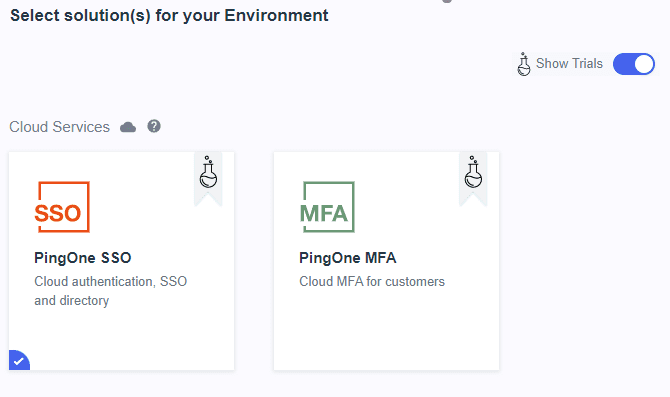
Select “PingOne SSO” and click “Next” twice.
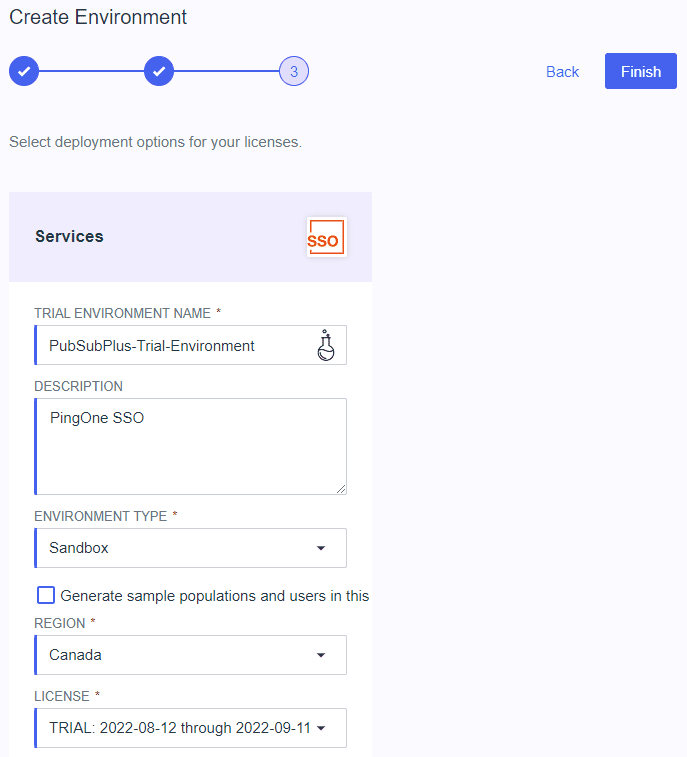
Give the trial environment a name and click “Finish”.
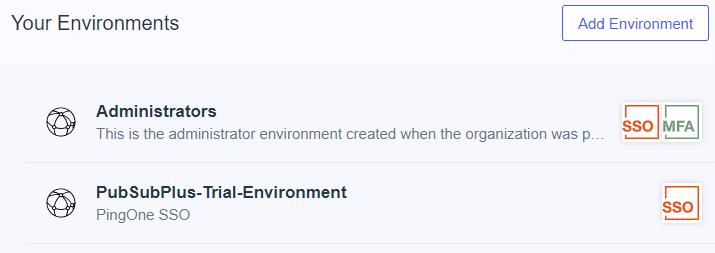
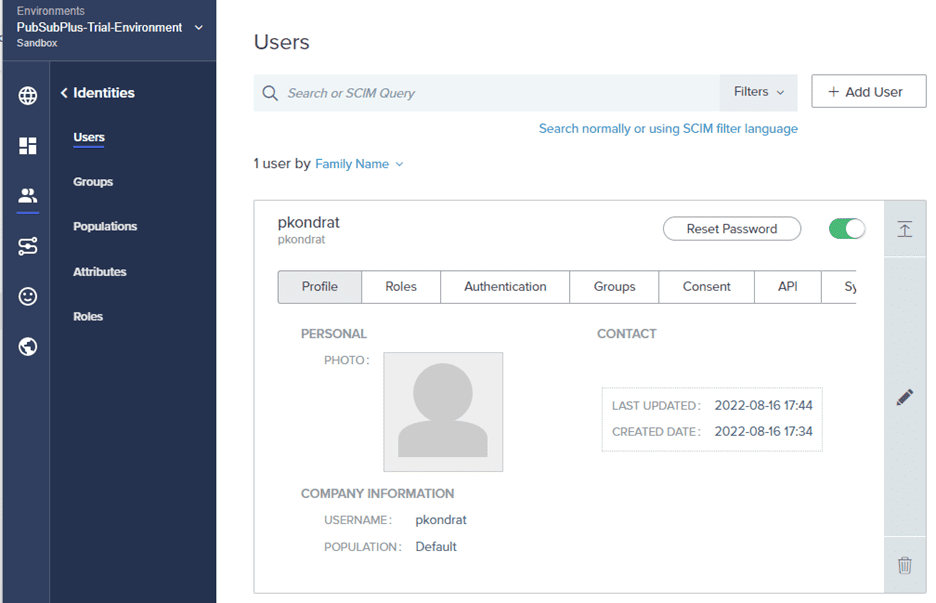
Enter into the trial environment by clicking on “PubSubPlus-Trial-Environment”.
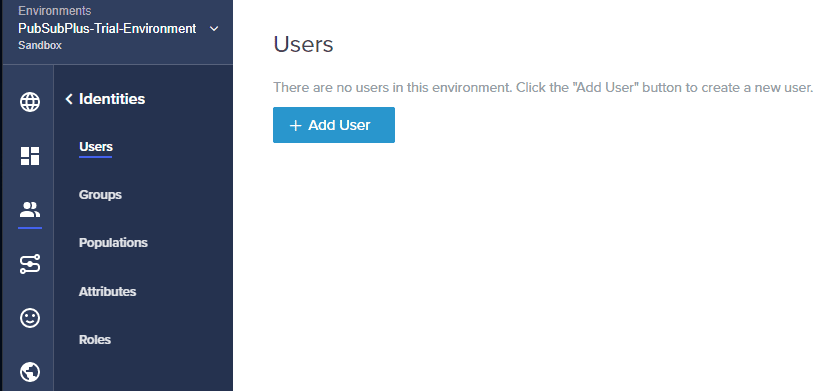
Select “+ Add User”.
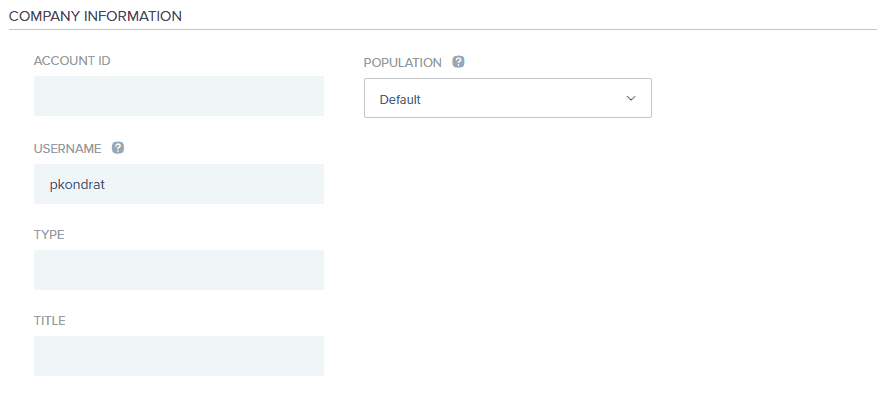
The only required field is the “USERNAME”, click “Save”.
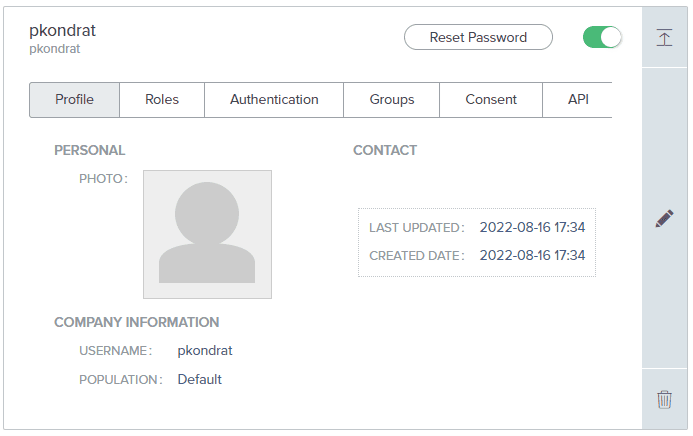
Click “Reset Password” to give the new user a one-time password to be used on first login.
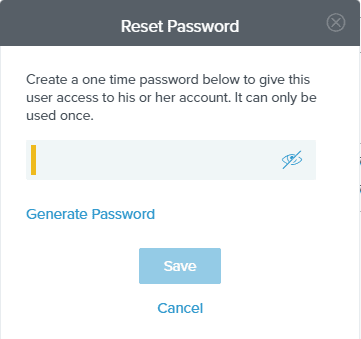
Record the password for later and click “Save”.
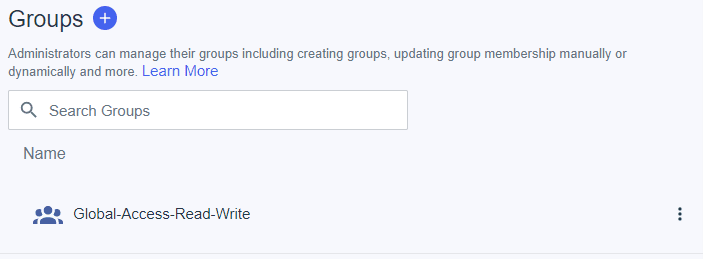
Next step is to create some groups that will be included in token passed to the PubSub+ broker that will map to access-levels for the user.
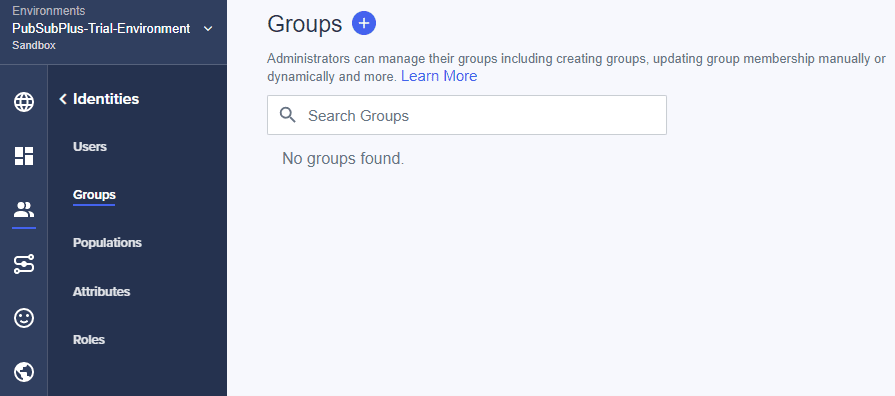
Click the “+” to create a new group.
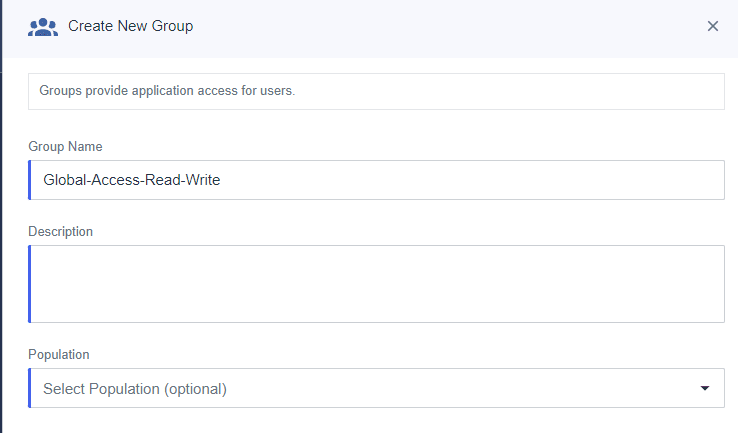
The only required field is the “Group Name”, click “Save”.
Click the “X” at the top right corner to go back to the Groups.
Click the “+” to create a second group.
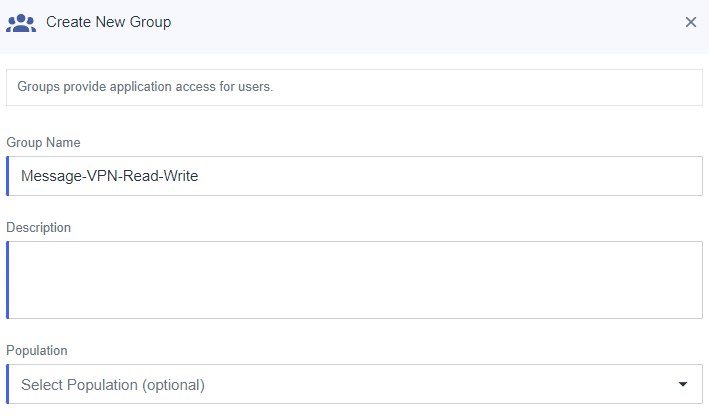
Give the group a name and click “Save”.
The next step is to create a new application. To start this click on Connections.
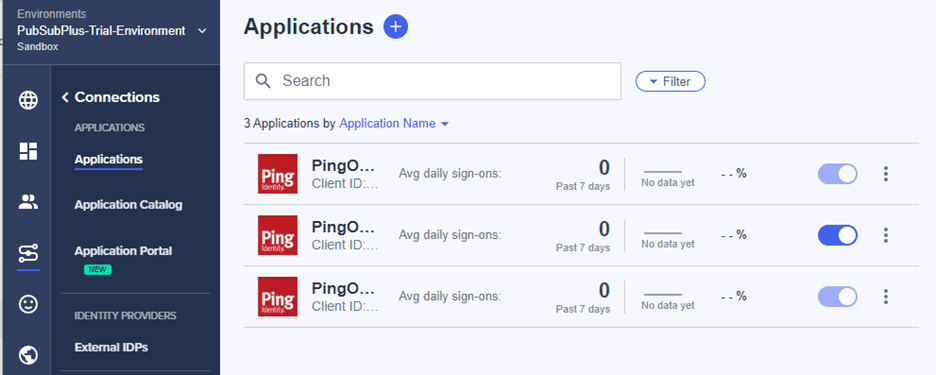
Select the “+” to create a new application.

Give the application a name, select “OIDC Web App” and click “Save”.
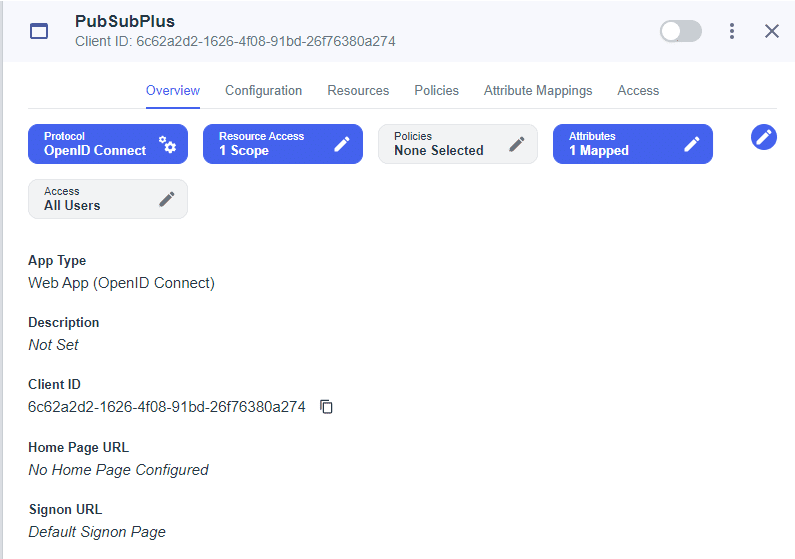
Select the “Configuration Tab”.
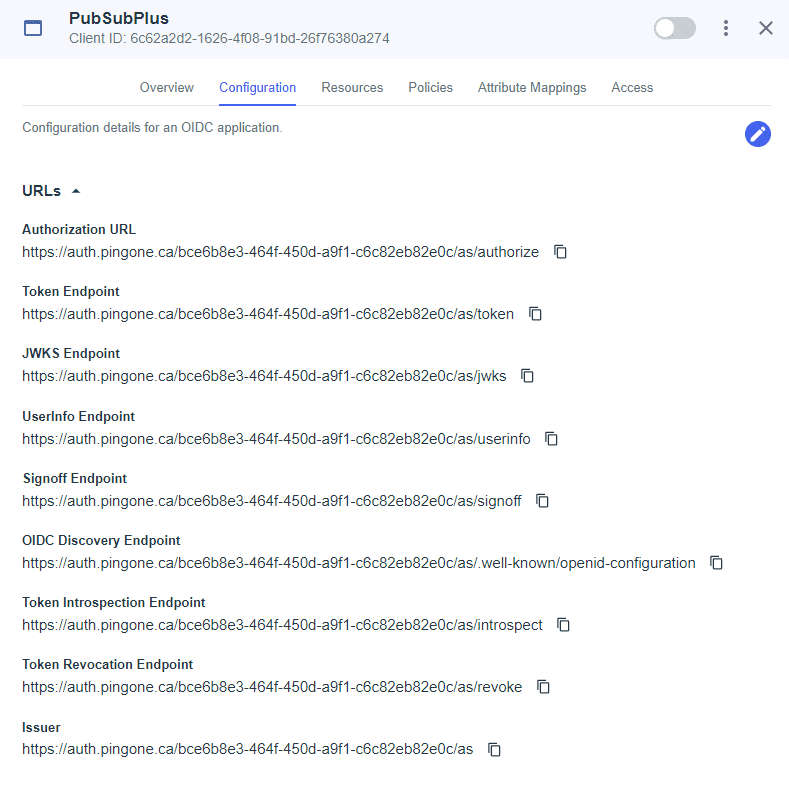
Record the “OIDC Discovery Endpoint”, this will be required to configure the PubSub+ broker. Scroll down to “General”.

Record the “Client ID” and “Client Secret” for later. Click the pencil icon at the top right to edit.
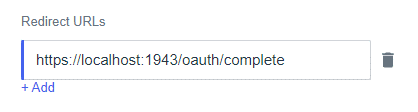
Configure the “Redirect URLs” to https://localhost:1943/oauth/complete and click “Save”.
Next step is to configure “Attribute Mappings” to map the groups we previously created to the tokens.
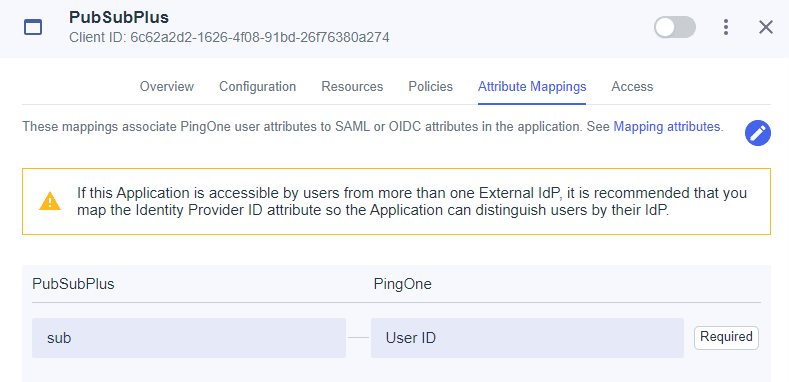
Select the Pencil icon at the top right to edit the mappings and click “+Add”.
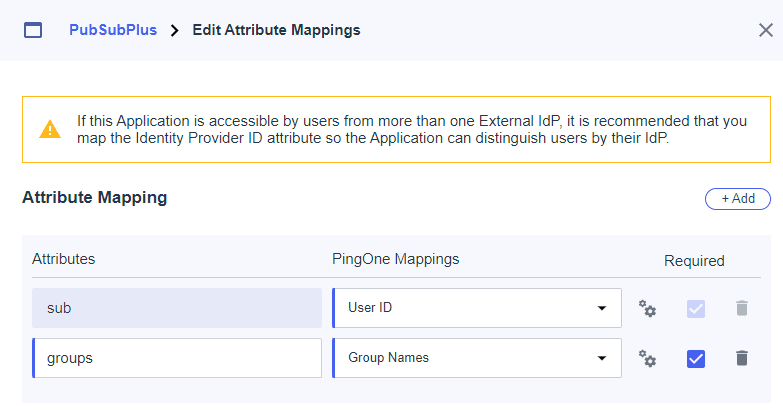
Create the groups attribute and map the “Group Names” to it. Check the “Required” box and click “Save”. Don’t forget to enable the client by adjusting the slider at the top.
Next step is to add the previously created user to the groups. Click on “Identities”.
Select “Groups” and click “+ Add”.
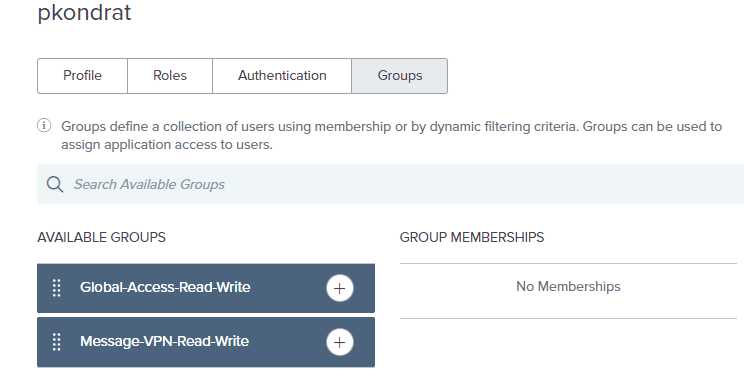
Select “Message-VPN-Read-Write” to make the user a member of the group. And click “Save”.
Step 3: Configure the broker to authenticate users via Ping
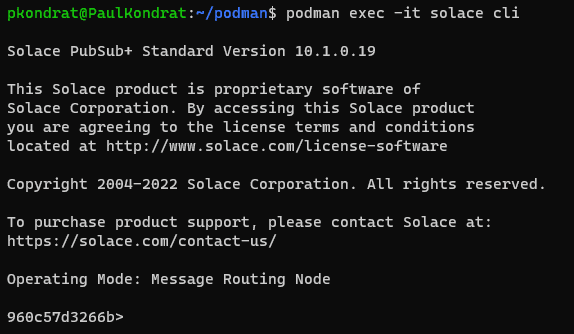
Unfortunately, at time of writing, the configuration for OAuth / OIDC on the PubSub+ broker is not supported in Manager, so the next bit will have to be via CLI. From the shell where the broker instance was created, enter:
$ podman exec -it solace cli
Then enter the following commands.
> enable
# configure
(configure)# authentication
(configure/authentication)# create oauth-profile ping
Next, configure the client-id, client-secret and discovery endpoint (remember these items from the previous steps). Enter the following commands (from configure/authentication/oauth-profile).
(configure/authentication/oauth-profile)# client-id <client-id>
(...thentication/oauth-profile)# client-secret <client-secret>
(...thentication/oauth-profile)# endpoints
(.../oauth-profile/endpoints)# discovery <discovery-endpoint>
Next configure the access levels for the groups created in Ping.
(…/oauth-profile/endpoints)# exit
(...thentication/oauth-profile)# access-level
(...profile/access-level)# create group Message-VPN-Read-Write
(...profile/access-level/group)# message-vpn
(...level/group/message-vpn)# create access-level-exception default
(...vpn/access-level-exception)# access-level read-write
(...vpn/access-level-exception)# exit
(...rofile/access-level/group/message-vpn)# exit
(...tion/oauth-profile/access-level/group)# exit
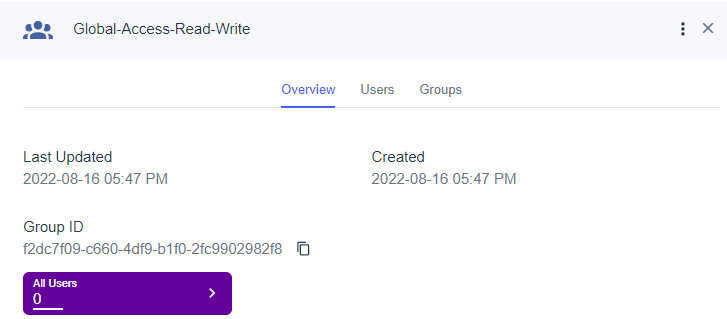
The above commands create an access-level group named Message-VPN-Read-Write (this must match the name of the group created in Ping) and give members of this group read-write access to the default message-vpn. Now, do the same for the Global-Access-Read-Write group.
(...profile/access-level)# create group Global-Access-Read-Write
(...profile/access-level/group)# global-access-level read-write
(...tion/oauth-profile/access-level/group)# exit
(...entication/oauth-profile/access-level)# exit
There are a few less obvious bits discovered during debug that also need to be configured to get the setup to work. From the configure/authentication/oauth-profile level, enter the following commands.
(...thentication/oauth-profile)# prompt-for-new-session login
(...thentication/oauth-profile)# client
...oauth-profile/client)# create allowed-host localhost:1943
(...thentication/oauth-profile/client)# no validate-type
(...thentication/oauth-profile/client)# exit
(configure/authentication/oauth-profile)# no shutdown
Now, if you refresh PubSub+ Manager in your web browser, you will see a new button on the login screen to “Login with ping”.
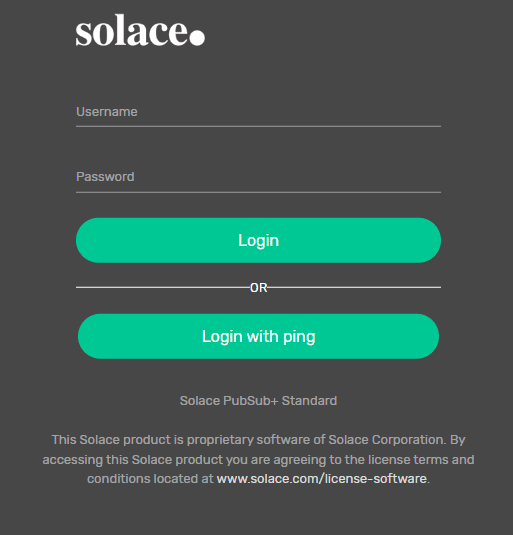
Click the “Login with ping” button and you will be redirected to Ping to enter the credentials for the identity previously created.
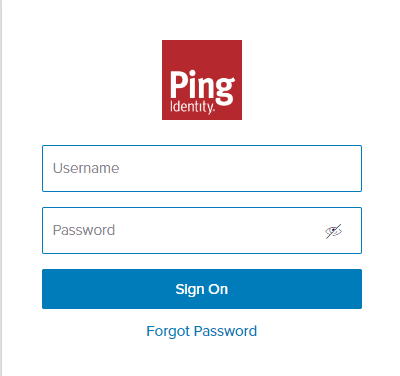
Enter the username and password, remember that the password originally given to the user was a one-time password so, you will be prompted to enter a new password. Once this is done, you will be redirected back to PubSub+ Manager as an authenticated user that is authorized with read-write access in the default message-vpn (remember the user was added to the Message-VPN-Read-Write group in the Ping portal).
Now just to see everything working, let’s go back into the Ping portal and add the user to the Global-Access-Read-Write group and see what happens. Navigate to the user and select “Groups”.
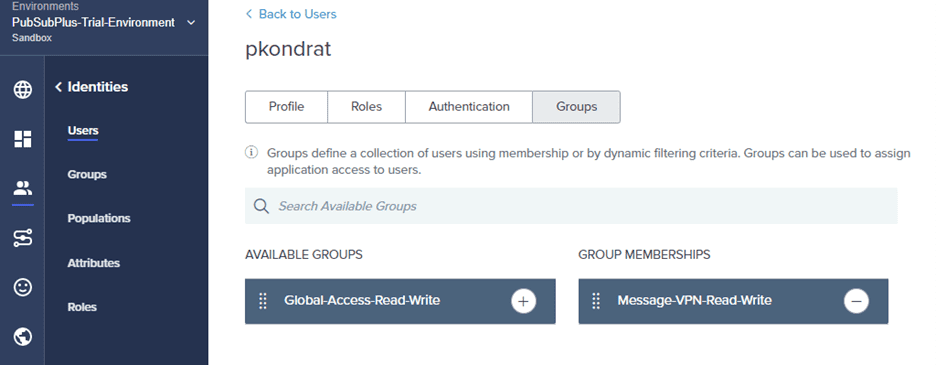
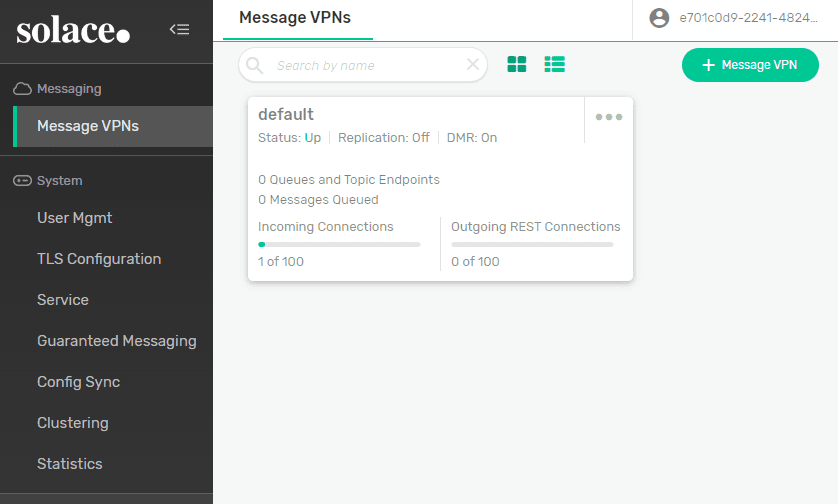
Add the “Global-Access-Read-Write” group to the user and click “Save”. Now log-out from PubSub+ Manager and log back in using Ping. You will again be prompted to enter the user’s credentials, proceed to do this. Now when you are redirected back to PubSub+ Manager, you will see the “System” configuration shows up on the left since the user now has Global-Access-Read-Write access level in addition to read-write in the default message-vpn.
Conclusion
This example demonstrates PubSub+ Manager working with third-party identity provider Ping Identity to implement an interactive login. When a user opts to login using Ping from the PubSub+ login screen, they are redirected to Ping to enter their credentials and then redirected back to PubSub+ Manager with a token that contains the user’s identity and authorized access-level.
For more information, see Configuring OAuth Authentication in Solace documentation.
Explore other posts from category: For Developers


Subscribe to Our Blog
Get the latest trends, solutions, and insights into the event-driven future every week.